Changing your website font in the olden days was difficult (to say the least). Since then Google has taken upon themselves to bring great typography to the web – by introducing Google Fonts. Using the Google Fonts service you can implement any of the provided fonts (600+ of them) with 3 simple steps.
- Decide which font you want to use
- Add it to your theme
- Tweak your CSS classes to use the new font
1. Deciding which font to use
Head over to Google Fonts website to check out the available selection of fonts. Using filters on the left you can find what you’re looking for more easily. More importantly, by switching between the Word, Sentence, Paragraph and Poster tabs you can quickly see how each font looks in the given scenario.
One thing worth mentioning is that, despite the fact you can add dozens of fonts into the theme doesn’t mean you should. Every font you add increases the page load. For most websites 2 fonts (from the same font-family) are enough; one for the titles and one for the paragraph text.
To learn more about typography in general I highly recommend reading this awesome guide.
2. Adding the font to your theme
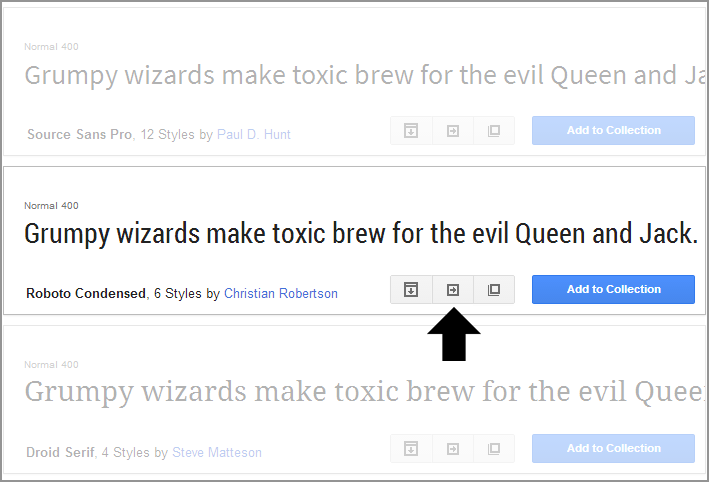
With the font you want to use decided upon, click on the Quick-use icon next to the big “Add to collection” button. For example purposes, I’ll use the “Roboto Condensed” font.
In the new page that opens focus on the step number 3. Copy the code located under the “Standard” tab and then visit your WordPress dashboard. Navigate to Appearance ⇨ Editor and open the header.php file. At the beginning of the file locate the <head> tag. Paste the copied code directly below that tag. For more details on this step you can open the Google Fonts documentation.
3. Tweaking the CSS to utilize the new font
With the font added you now must “tell” your theme how to use it. We do that by editing the CSS that styles the elements you want to change. Most people want to change their titles and paragraph text, so that’s what I’ll focus on. To change all your headings and paragraphs to the new font (in our case, Roboto Condensed) add the below provided code inside your custom.css.
Note: Don’t forget to change the font name if you selected a different font than me (and you probably did).
h1, h2, h3, h4, h5, h6, p {
font-family: 'Roboto Condensed', sans-serif;
}
To learn more about custom.css and how it can help you customize the theme open this article.
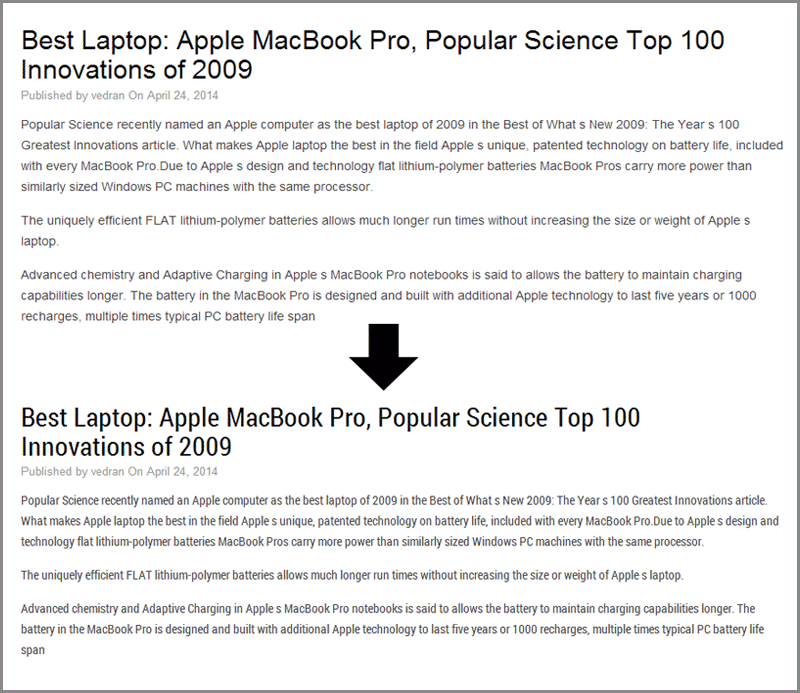
If you did everything correctly you should immediately see changes in titles and paragraphs on your site. Here’s a before and after screenshot of my Blog (in the Directory theme).