This tutorial will show how to install Templatic’s WordPress premium themes. Just follow the below steps.
Step 1: Login to Member Area
- Head over to templatic.com and click on “Member Login“.
- Enter your User ID and password and click on “Login”.
- Now you will be redirected to your Member’s Area.

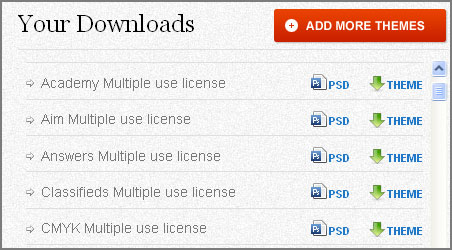
- Click on the theme name and then the download process would start. All the themes which you purchased would be listed here
- Save the file to your Computer
Step 2: Uploading theme
- After downloading the file, unzip it and a folder would be created with that theme’s name
- Now we have to upload the theme to wp-content/themes
- For this we’ll be using a FTP client like “FileZilla”
- FileZilla is a free software and it can be downloaded from here
- Now open FileZilla and your hosting provider must have provided you the FTP details. Insert those details like Host, username, password and port and click on “Quickconnect” or simply press “Enter”

- Navigate to public_html > wp-content > themes (On the server, which is in the right hand side)
- And in the left hand side, which is your computer, navigate to the path where you have downloaded the theme. Simply right click on the theme’s folder and click on “Upload”. That’s it, your theme has been uploaded.
Step 3: Activating the theme
- Now login to your WordPress Admin area and navigate to Appearance > Themes
- Here you would be able to see the theme name and screenshot, just click on “Activate”.

So now your theme is activated and its also populated with some added dummy content to help you get started. If you don’t want that dummy content then click on “Yes Delete Please!”.

So this is how you can install Templatic’s theme. Now go ahead and customize it according to your needs.2
Still having issues installing the theme? Watch our theme installation video tutorial:
http://www.youtube.com/watch?v=dFN95RM_jJQ
