Installation
- Download the plugin from the Directory ⇨ Directory Extensions section of the Templatic member area.
- Navigate to wp-admin ⇨ Plugins ⇨ Add New ⇨ Upload. Use the “Browse” button to load the previously downloaded .zip file. Click on “Install Now” to confirm.
- Once the plugin is finished installing click on the “Activate” button.
By activating this plugin you have now added a new widget to your site – List Filter.
Setting up the plugin
With the plugin installed, head over to Appearance ⇨ Widgets and move the “T – List Filter” widget into a widget area in which you want the filters displayed. You should aim to place the widget in these two areas:
- Listing Category Page Sidebar – placing the widget here will show filters on all category pages and the all posts page. Location of the all posts page for the “Listing” post type is your-domain.com/listing
- Primary Sidebar – placing it here will show filters on search results pages. When placed inside this widget area the List Filter widget will display all custom fields (not just the ones selected inside the widget).
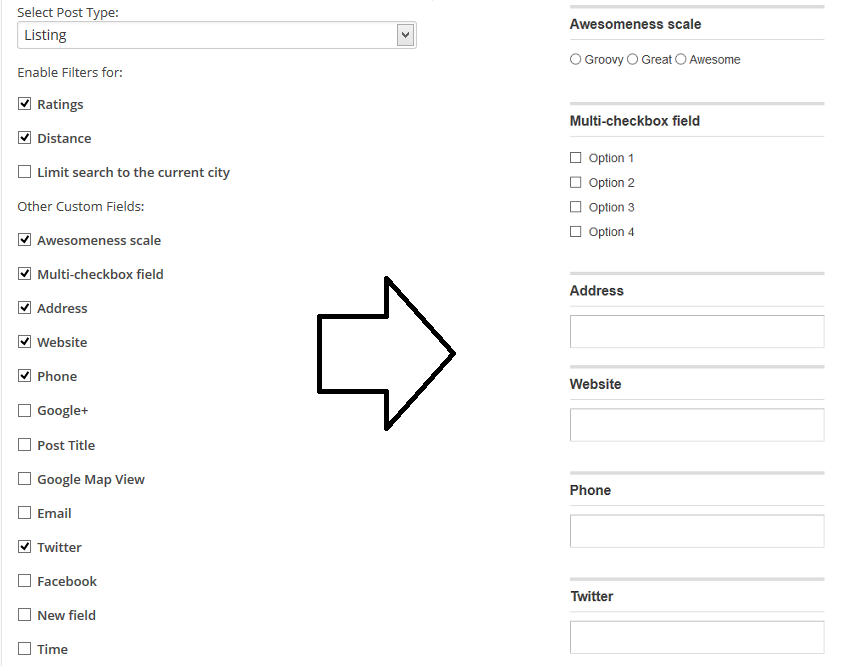
Placing the widget inside the widget area will reveal its options. The top area shows three options (Star rating, Categories and Distance) while the bottom area shows the custom fields available inside the Tevolution ⇨ Custom Fields Setup section. Enable/disable each option depending on what you want the widget to show.
Keep in mind that the “Categories” filter won’t show inside category pages. It will only show in search results pages and the all posts page.
Adding custom filters
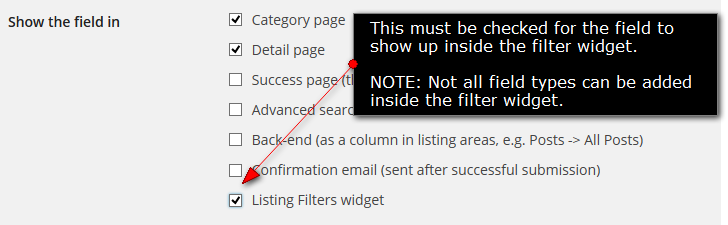
To use your custom fields as new filters go to Tevolution ⇨ Custom Fields Setup and create or edit a custom field. To ensure your custom field shows up inside the filter widget you need to select it within the “Show the field in” section at the bottom of the page.
Ordering filters
With the custom fields added to the filter widget, you can order them around with drag n’ drop. Just grab a field and move it to the desired location. The field order within the widget will always match that in the front-end
Using the plugin (in the front-end)
Once the widget is setup, using it is very simple. You just choose the filters you need and let the plugin do the rest. Optionally, you can remove filters at the top of the page.

Frequently Asked Questions
How to translate the plugin?
You can translate the plugin by using the language file located inside the /languages folder. For instructions on handling PO and POT files open the following article
https://templatic.com/docs/how-to-localize-templatics-wordpress-themes/