Installation
- Download the plugin from the Directory ⇨ Directory Extensions section of the Templatic member area.
- Navigate to wp-admin ⇨ Plugins ⇨ Add New ⇨ Upload. Use the “Browse” button to load the previously downloaded .zip file. Click on “Install Now” to confirm.
- Once the plugin is finished installing click on the “Activate” button.
By activating this plugin you have now added a new custom field. The field name is “Upload Voucher” and it is located inside the Tevolution ⇨ Custom Fields section. From there you can edit the field label, display position and more.
Important note: If the vouchers field isn’t displaying inside your front-end submission form navigate to Tevolution ⇨ Custom Fields and edit the “Upload Voucher” field. Under Display Options ⇨ Show the field in, make sure that the “Submission form” box is selected.
Purpose
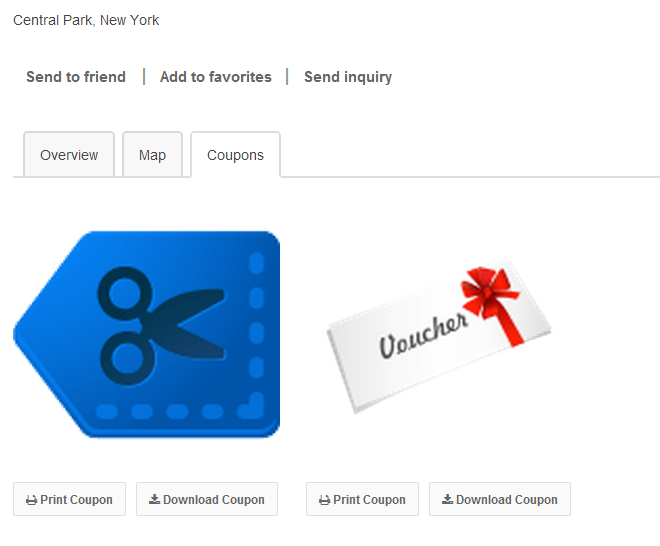
The purpose of this plugin is to allow users to showcase coupons inside their listings. They will be able to attach coupons immediately after the plugin is activated. Once submitted, the coupons will appear inside a new tab on listing detail pages. From there, visitors can either print or download the coupons.
The video demostration for Listing Voucher Plugin:
Supported file types
- PNG
- JPG
- GIF
Settings
Apart from the ability to edit the coupon field itself (from Tevolution ⇨ Custom Fields Setup), the Listing Vouchers add-on comes with only one setting. It’s located in Tevolution ⇨ General Settings ⇨ Submission page settings ⇨ Allow number of coupons to upload. By tweaking this setting you can control how many coupons users are allowed to upload during listing submission.
Fields Monetization owner?
If you’re using the Fields Monetization add-on, the above setting doesn’t apply to you. Instead, you can assign a different number of allowed coupons for each price package on your site. This allows you to charge extra for price packages with more coupons.
Frequently Asked Questions
How to remove the Print button?
Remove the button by adding the following code to Appearance ⇨ Custom CSS Editor
.cpn_optopn a.pr {
display: none;
}
Want to remove the download button instead? Add this code
.cpn_optopn a.dw {
display: none;
}
CSS changes aren’t showing? Go to Appearance ⇨ Theme Options and enable the “Use custom.css” option.
How to translate the plugin?
You can translate the plugin by using the language file located inside the /languages folder. For instructions on handling PO and POT files open the following article
https://templatic.com/docs/how-to-localize-templatics-wordpress-themes/

