Installing using FTP
- Download all files available under “Traditional Installation” in “StoreBox eCommerce Theme” section by logging into the member’s area.
- Extract the zip file of the storebox theme, downloaded from the member’s area, using software like 7-Zip. Use the “Extract here” option; don’t extract into a new folder.
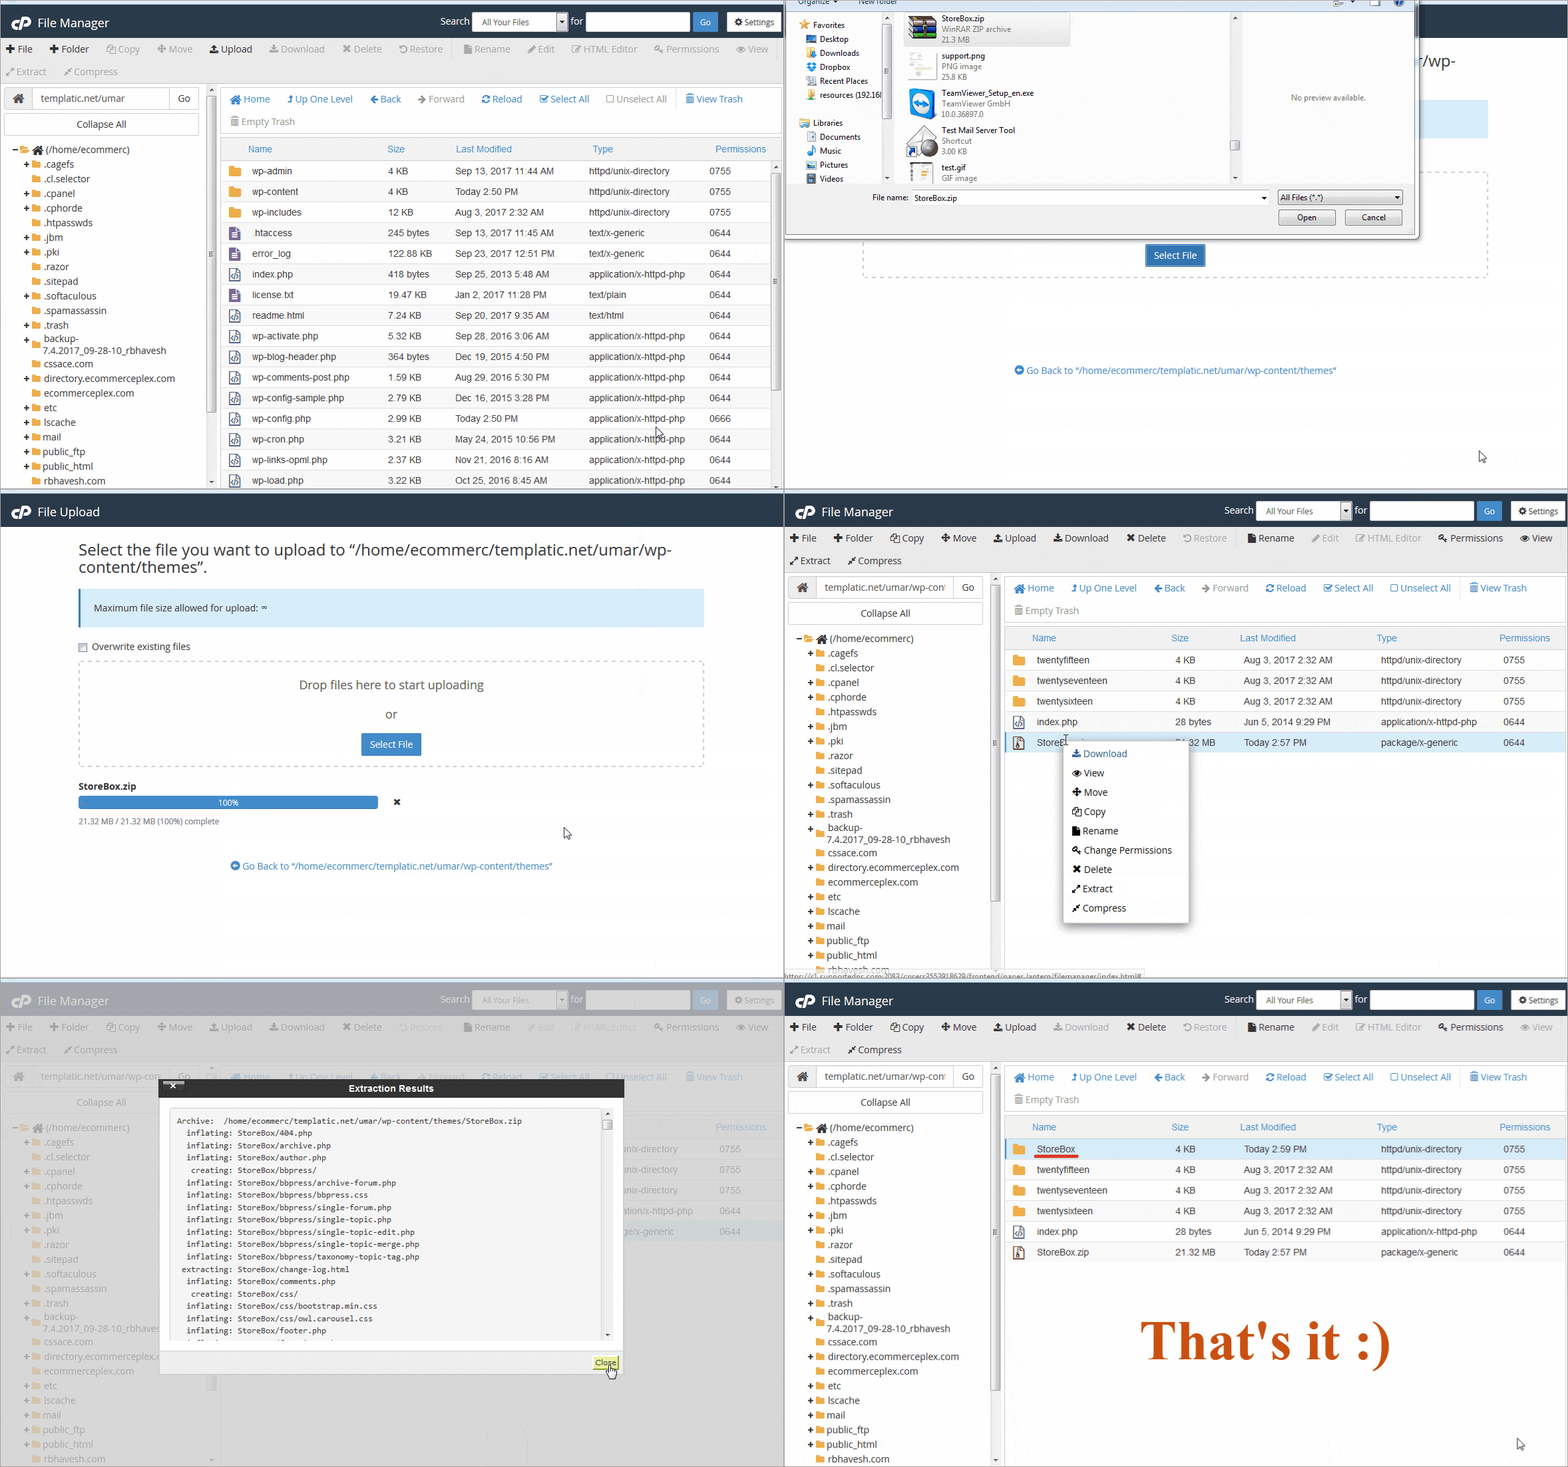
- Upload unzipped storebox theme folder to the /wp-content/themes/ folder in the WordPress installation folder on your server.
- Now you can navigate to /wp-content/plugins/ folder, and upload the unzipped plugin folders. Installing Visual Composer, WooCommerce, as well as Revolution Slider, is mandatory. So make sure you upload the unzipped folders of these three plugins.
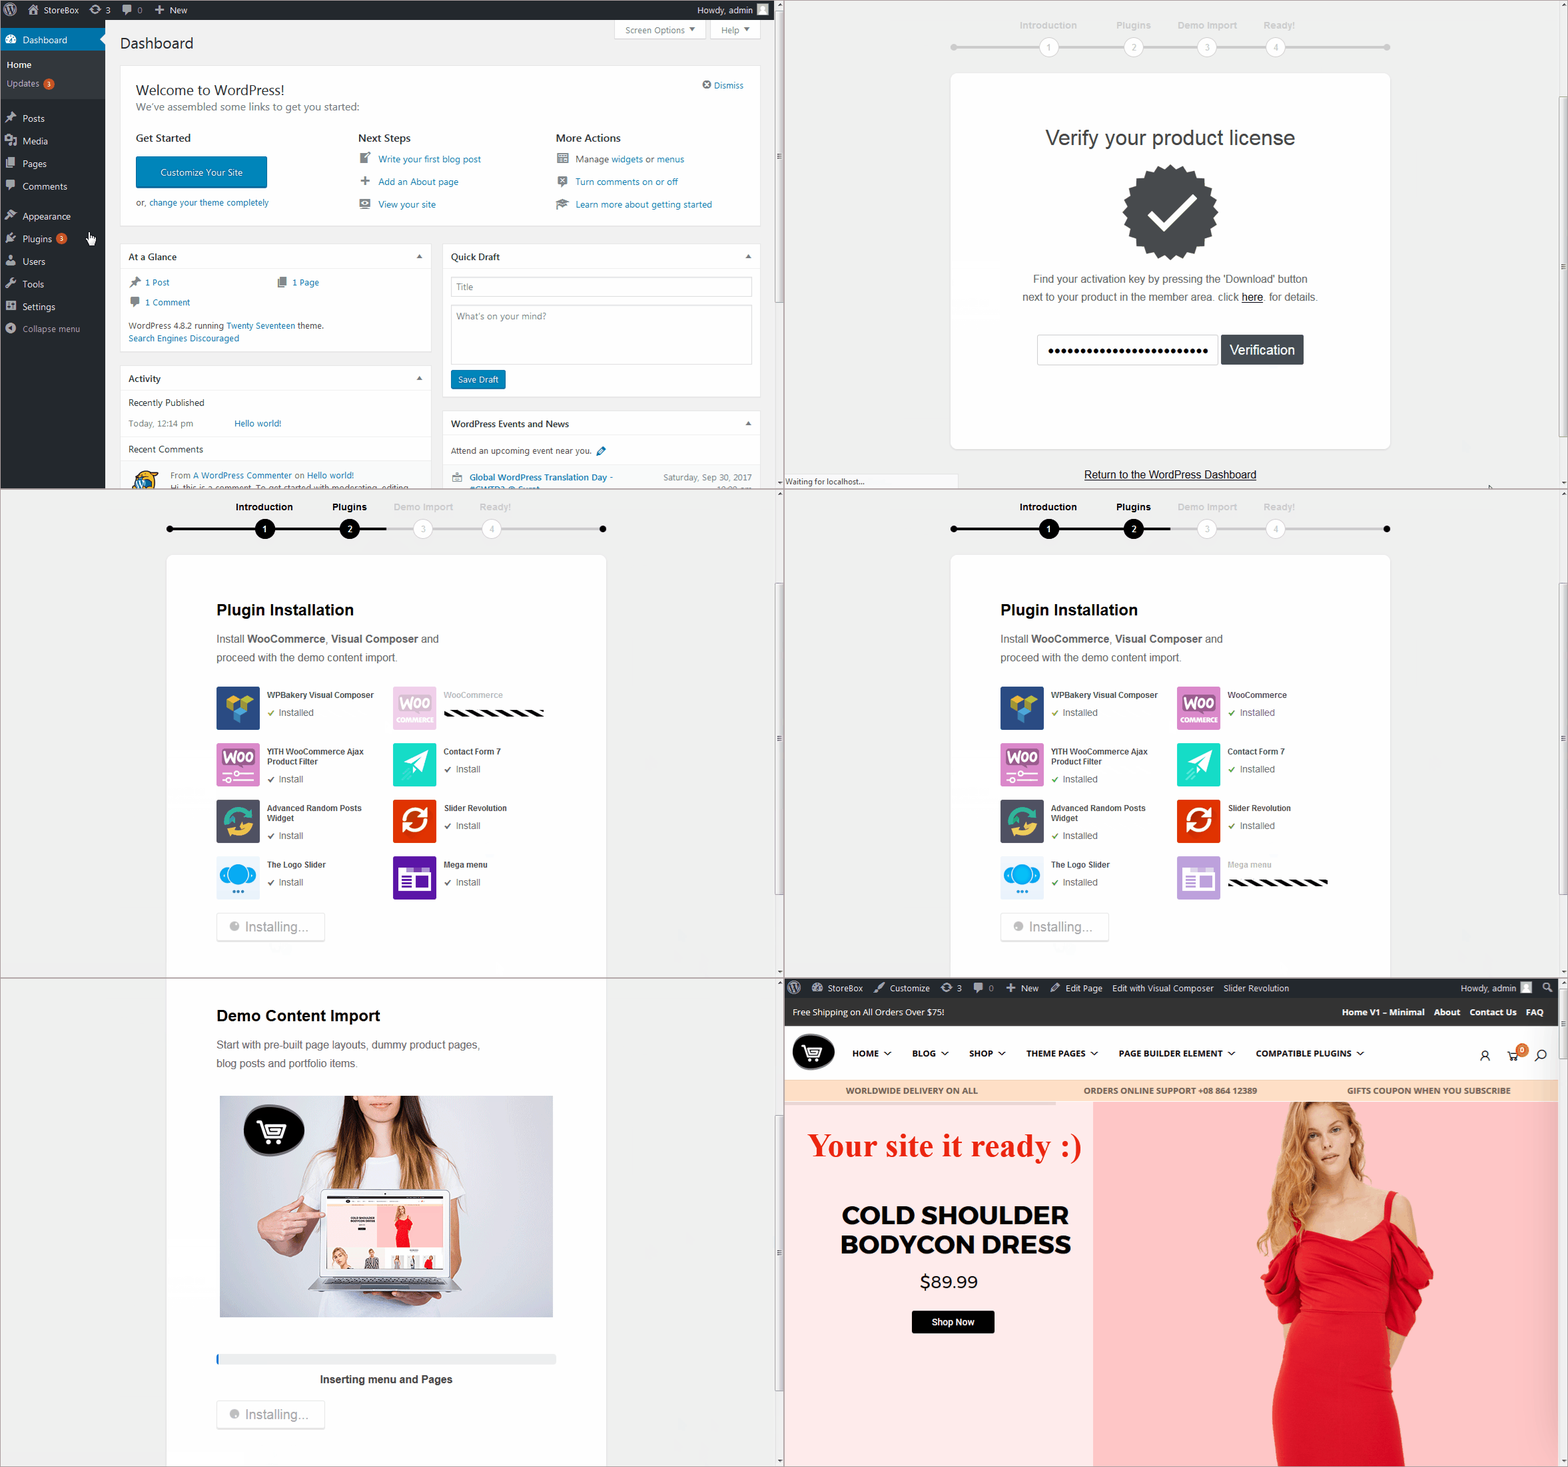
- After uploading the file login to your WordPress dashboard and navigate to your dashboard ⇒ Appearance ⇒ Themes and activate the theme
- Enter the license key. You can get it from the member area, under “My Downloads” inside Download pop up.
- Now navigate to Dashboard ⇒ Plugins, find the plugins that you just uploaded and activate them all.
- Theme installation is done. There’s an option to activate the sample data at Appearance ⇒ Themes. Click yes and install the sample data. This will make your StoreBox website look exactly like our demo.


