Installing and activating Reviews theme
- Connect to member area and expand the Reviews section under My Downloads. Download the theme to your hard drive.
- Connect to your WordPress dashboard (wp-admin) and navigate to Appearance -> Themes. Click on the Install Themes tab and then on Upload. Use the Browse option to locate the reviews zip file on your hard drive – then click on Install Now. After the installation process is finished activate the theme.
In case WordPress rejects the .zip file use FTP to install the theme:
- Extract reviews.zip then upload to /wp-content/themes directory
- Once uploading is done connect to the WordPress dashboard and activate the theme
- If you run into more problems during installation please visit our Installation Guide
For detailed instructions on using FTP please click here
Need help with installing the theme? Hire us!
Facing Problems in installing the theme? Don’t worry, we’ll do that for you, just click here!
Installing sample data
Now, The theme is activated in your wordpress. You can insert the dummy content for you reference by following way:
Theme will be activated & completely installed. If you wish to install the dummy content, then click on “Yes, insert sample data please”.
If you wish to delete the dummy data that we populated in your site then you can remove it by clicking Yes Delete Please!
Note: If you entered your data by editing this dummy data, then please don’t click on “Delete sample data”, as it will delete all the data which you have entered.
Design Settings
Go to wp-admin -> Reviews Settings -> Design settings and take a thorough look at all the flexible options available to you. Do the settings as per your wish and then save them.
Configuring Home Page

Lets learn how to configure the Homepage:
- Make your own custom menu from wp-admin > Appearance > Menus. Give a name to this menu and create it as per your wish. From the “Top Navigation” menu select the menu name which you just created.
- Go to wp-admin > Review Settings > Design settings > Custom Logo. Click on “Upload” button to upload an image, and then click on “Insert into Post”. Click on “Save changes” button ) or Choose Title over Logo – This option will overwrite your logo selection above – You can change your settings here.
- Go to wp-admin > Appearance > Widgets. Place the “PT -> Home Page Slider Banner Widget” in “Front Page Banner Slider” area.
Now select your category from which you want to display the posts in the slider and enter the number of posts that you want to display. - Go to wp-admin > Appearance > Widgets. Place “T -> Recent Listings (List View)” & “T -> Recent Listings -> Grid View” widgets in “Front Content” area.Go to wp-admin > Appearance > Widgets. Please make sure that the images you want to show in the slider are of same size. So that slider won’t get re-sized each time when slide or image changes.
- Place “T -> Advertisement widget” widget in “Sidebar1” area.
- Place “ PT -> Recent Review” & widgets in “Sidebar1” area.
- Place “ PT -> Recent Members” widget in “Sidebar1” area.
- Place “ PT -> Top Reviews” widget in “Sidebar1” area. The Top reviews widget is depending on the user ratings.
- Place “Customer Info” widget in “Pre Footer: First Column” & “Pre Footer: Second Column” areas.
- Place “Tag Cloud” widget in “Pre Footer: Third Column” area.
- Place “T > subscribe” widget in “Pre Footer: fourth Column” area.
Setting up Reviews listing page
- Linking listing Category
Review listing page in Reviews is nothing but a category listing page. To showcase products from a particular category just provide a link to that category. In case you want create buttons for your nav bar use the custom menus feature. To place the “Reviews Categories” in menu use custom links feature on the left side. In the Url field enter the direct URL of that category. In the title enter the name of your category.
2. Sidebar Settings: Go to wp-admin > Appearance > Widgets. Place “ PT -> Recent Review” & “T -> Advertisement Widget” widgets in “Review Listing Sidebar” area.
Setting up Review Detail Page
Configure the Tweet and facebook buttons from:
- Go to wp-admin > Theme Menu > Design settings > Tweet button.
- Go to wp-admin > Theme Menu > Design settings > Facebook Like button.
- Sidebar Settings: Go to wp-admin > Appearance > Widgets. Place “T -> Advertisement Widget” & “ PT ->Top Reviews” widgets in “Review Detail Sidebar” area.
How to add a new review post
Let’s see how to add a new review post. Go to Reviews > Add New Review. (Refer screenshot below)
- Add Review Title
- Add related images. Click on the regular “Add an Image” button, upload an image and just close that window. You don’t need to click on “Insert into Post” button. After uploading the images, just close that window.
- Add Product Description. To create different tabs like Overview, Customer Reviews, etc, please refer this.
- Enter the short description of your review here in Excerpts. It will be displayed between the ratings and review attributes.
- Select Review category.
- Add tags
- Click on “Publish” button.
And lastly, remember that you can add your own custom field also.
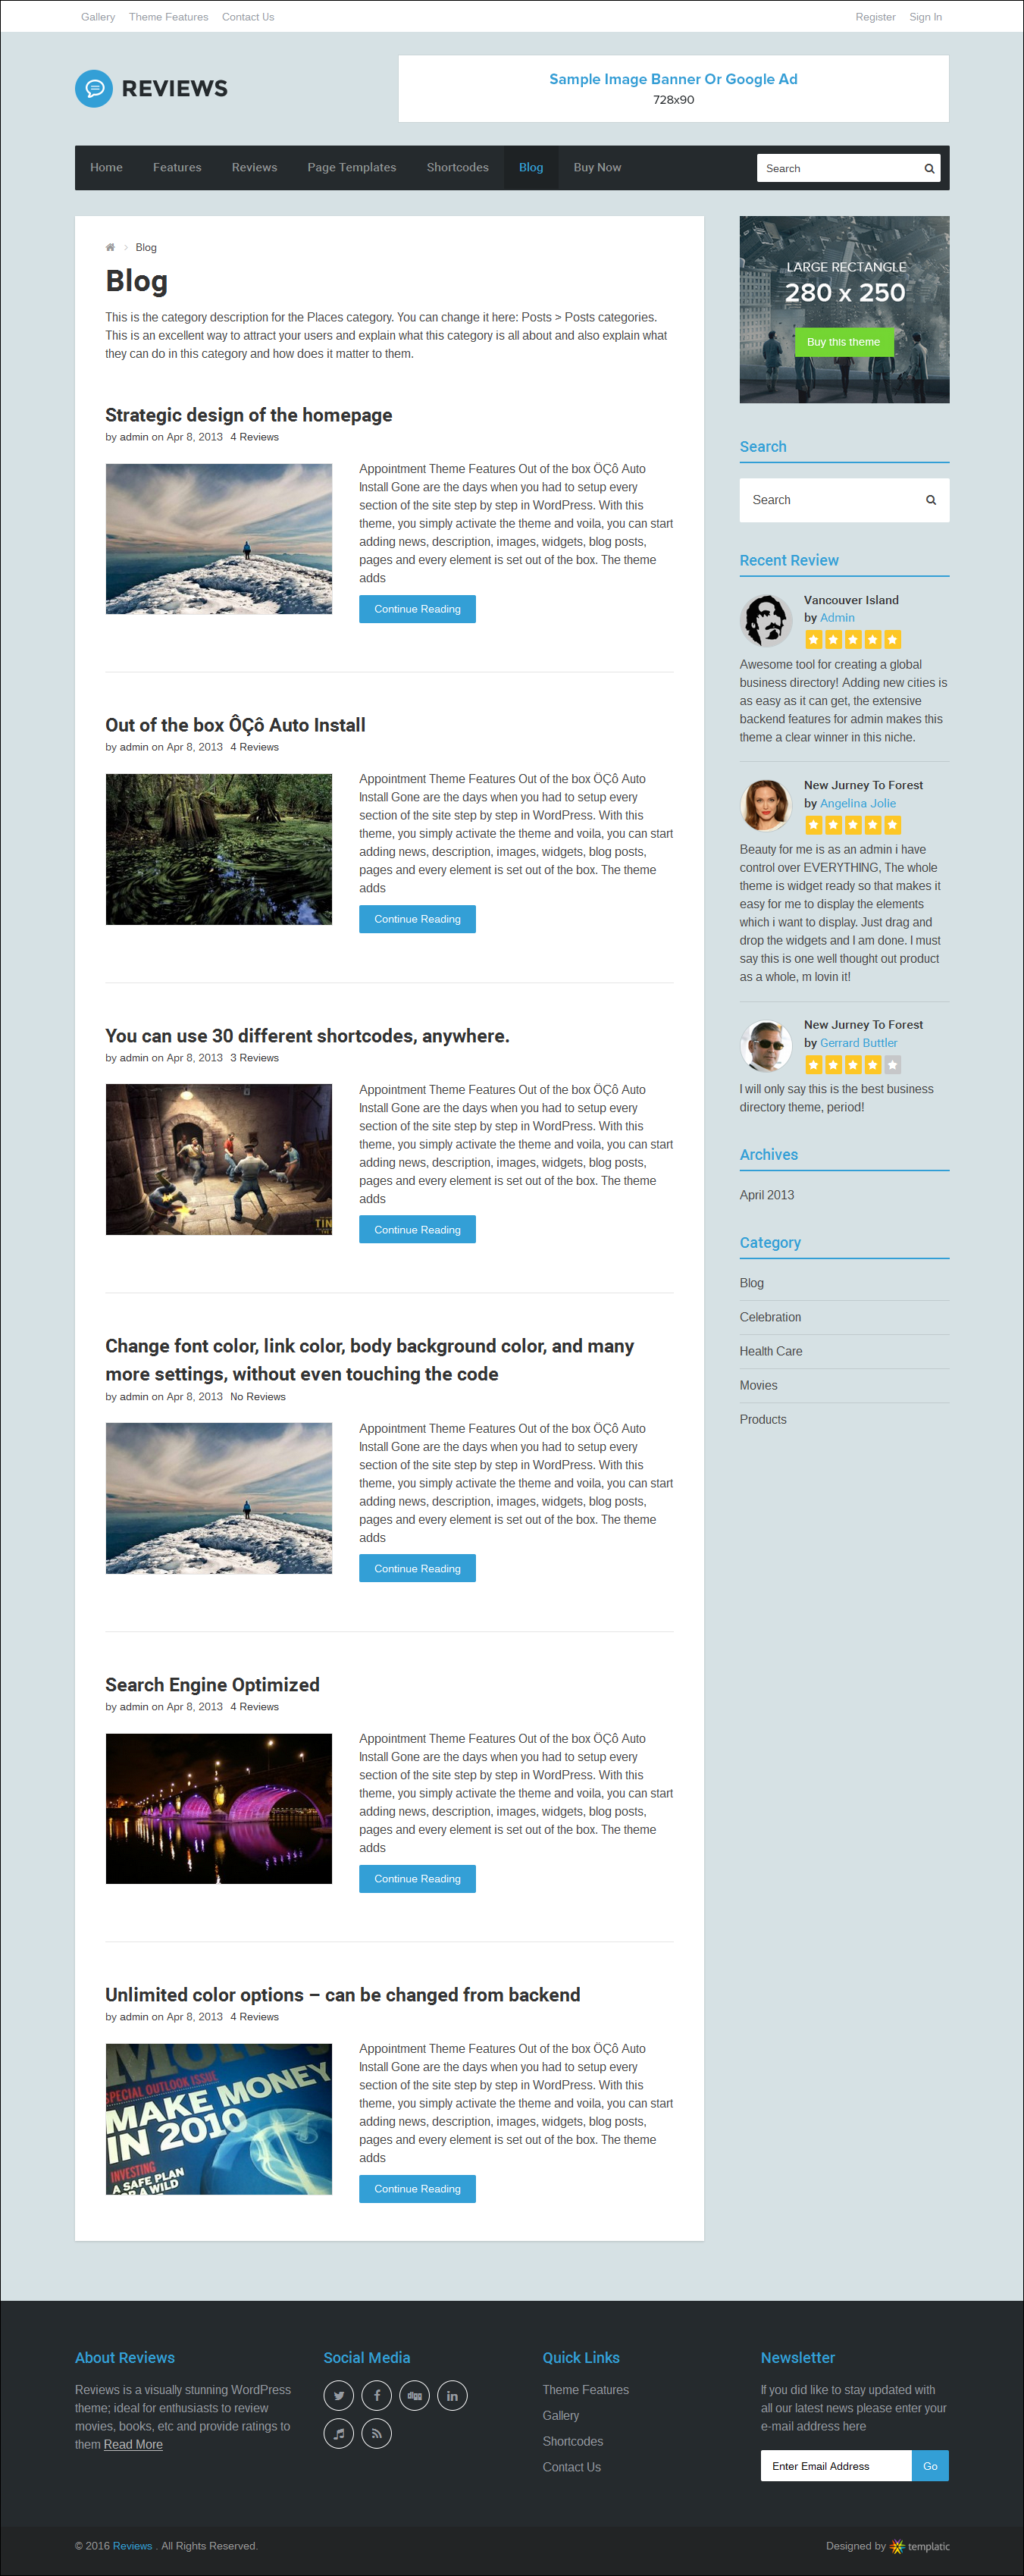
Configuring Blog listing page

Here’s how to configure this page:
- First you will have to create a category. You can make it your blog category from Wp-admin->Theme Menu-> Design Settings.
- Now, as explained above in “Linking listing Category” you can create blog category link as well.
- For Sidebar, Go to wp-admin > Appearance > Widgets. Place “ PT -> Recent Review” & “T -> Advertise” widgets in “Blog Listing Sidebar” area.
Configuring Blog detail page
Here’s how to configure this page:
- Go to Widgets > Blog Details – Sidebar > Search
- Go to Widgets > Blog Details – Sidebar > Archieves
- Go to Widgets > Blog Details – Sidebar > Categories
How to add new Blog Post ?
Yes, you can also have a Blog on the site. To add Blog posts, go to Posts > Add New.
- Add Post Title
- Add Image by clicking on “Add an Image” button
- Add Description
- Add featured image (optional)
- Select Category (Note: Select here your Blog Category.)
- Finally, click on Publish
How to add a new Page and use Page Templates
Now lets learn how to add a new page and use page templates. Go to wp-admin > Pages > Add New
- Add Page Title
- Add Page Description
- From the right sidebar of this page, Select “Page – Contact Us” from Template section. (This is used just as an example. You can use any page templates)
- Click on Publish
You can configure your Contact Us Email address from wp-admin > Reviews > Design settings > Contact Form Email. Enter your Email address here. Emails from Contact form will be sent to the Email address.
Contact Page
This is a preview of “Contact Us” page template which we used in previous step.
Review Listing page / Category page – preview
Here’s the preview of the Review Listing / Category page:
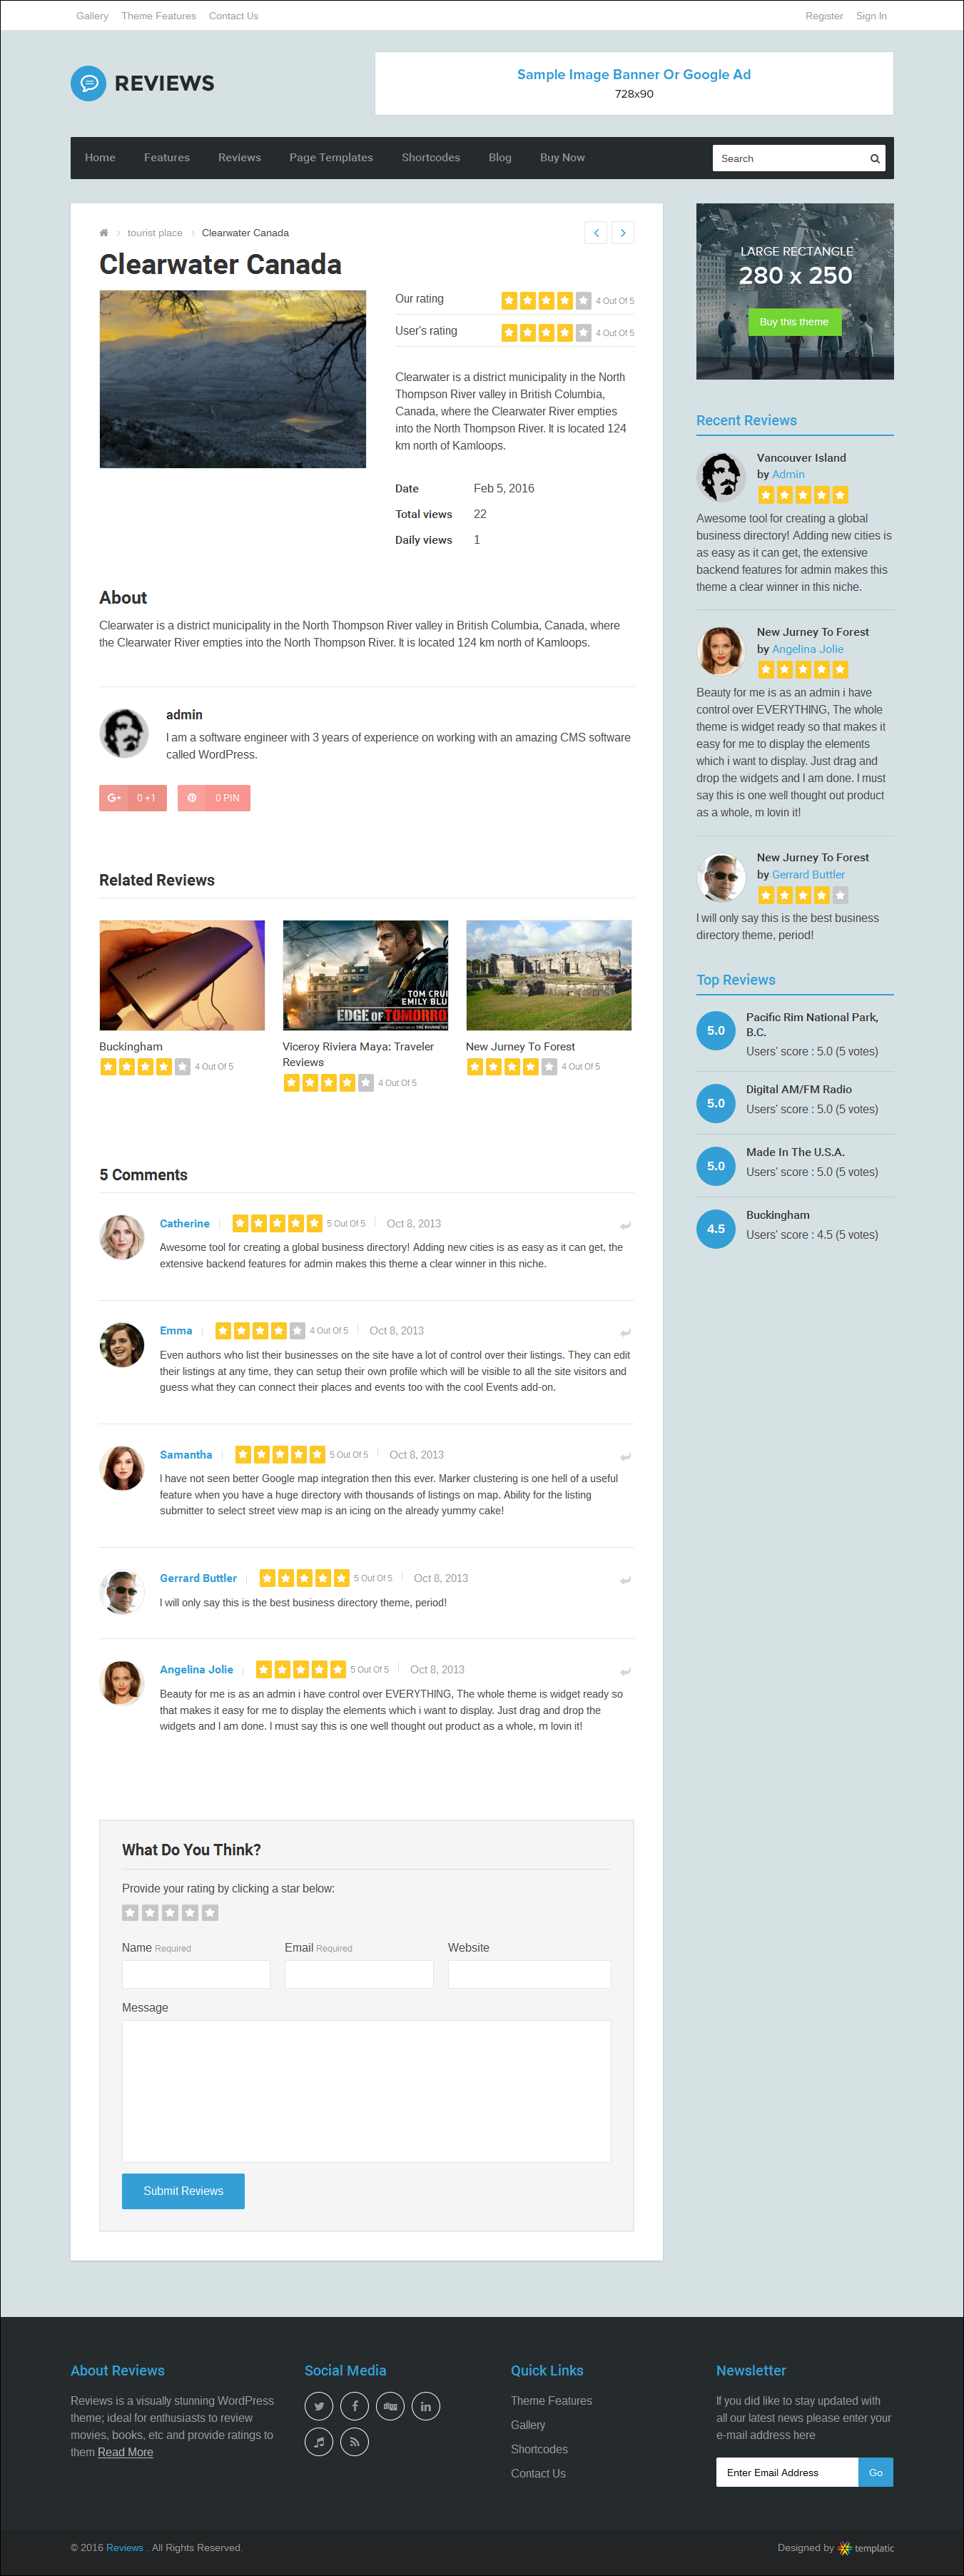
Review Detail page – preview
Here’s the preview of the Review Detail page:


How to create tabs in review’s detail page
In review detail page, you must have observed tab like Information. To create different tabs, you need to use tabber shortcode in “Description”. Here’s an example:
[tabber]<H2>Overview</H2>

Your overview text here.[/tabber]
Same way you can create tabs with any name. The text in H2 will automatically become the heading of that tab. When adding a product, you need to place this in “Description” section and in HTML view only.
Adding custom fields
Custom Fields are basically different attributes you can add for your reviews. Go to wp-admin-> Theme Menu-> Theme Settings.
From here, you can add new custom fields. E.g. You are having musical reviews. You may want to display information about “Singer “. This is where custom fields come to the rescue. So the first step is to create this “Singer” custom field.
From here, click on “Add Custom field” button.
Below is a detailed explanation of different fields:
Title: Title for your custom Field.
Select whether you want to show this custom field in Posts or Products section(Normal posts or custom taxonomy). Normally, you would need to select “Product” from here.
Show for categories: Select the category in which the field will get displayed.
Field type: Select the type of this custom field. You can choose here “ratings” too as type if you want an extra rating which rates your review depends on your different criteria.
Field label (for back-end): The field label for the custom field displayed in the back-end.
Field name (for front-end): The name you provide here will be displayed as the field’s name (label) in the front-end.
HTML variable Name: The HTML variable name for the custom field. Please note that it should be a unique name. E.g. if you create two custom fields, then both should have a different HTML variable name. They can be just a random text e.g. age_info, etc.
Description: Custom field description which will appear in the front-end as well as the backend. Also known as Help text. This is something that explains more about your custom field.
Default value: Enter the default value of the custom field.
Position (Display order): This is a numeric value that determines the position of the custom field in the front-end and the back-end. e.g. 5. This is useful when you have more than one custom field.
Active?: This setting activates/de-activates the custom field in the front-end and the back-end.
Compulsory?: Specify whether or not this field is required to be filled in compulsorily by users.
Display location: Specify whether this field will display in the front-end, back-end or both.
Is editable?: Specify whether or not this field is editable.
Is deletable?: Specify whether or not this field is deletable.
Is search?: Specify whether or not this field is in place in advanced search.
Show on detail page : Specify whether or not this field be shown on the ‘Detail page’.
Required field warning message: Type a message here. This message is displayed if this field is mandatory and the user leaves it un-filled.
Validation type: Validation helps avoid invalid information entered by the user.
CSS class: You might want to style this field differently. Mention a class name here and add its properties in your CSS files.
Extra parameter: You can pass an extra parameter with this field (like maxlength, onchange etc.) to enhance functionality.
How can the user/buyer edit the profile
Go to user Dashboard by clicking on username from top navigation bar, and then click on Edit profile. From here user can change username, email,profile picture, password, and other info too.
Complete documentation on Templatic Framework
We have prepared exhaustive documentation on Templatic Framework which is used to develop this theme. Click here to view documentation on Templatic Framework.
How to use different Shortcodes
Different shortcodes are integrated in the theme. Please check out how to use shortcodes guide to know more.
Any Queries? Contact us and we’ll help you out.
Need help with installing the theme? Hire us!
Facing Problems in installing the theme? Don’t worry, we’ll do that for you, just click here!
