In this article we will explain how to edit the footer in WordPress. Before we start with this process, just in case you are new to WordPress, we will first explain what a footer is and what it is for.
The footer is the part of your website that is located at the very bottom, below all of the content. It can be divided into several parts, and it serves to display some of the most important links, footer menus, contact information, links to social networks or any other content. Some WordPress themes don’t have a footer editor or even a footer in some cases and that’s by design. Due to this, if you want to change the footer, make sure you install a theme that has a footer.
Below we will show you several ways on how to edit the footer and how to insert some content that is interesting to your visitors.
The fastest and easiest way to edit the footer in WordPress is to use the WordPress theme customizer.
Inside your WordPress dashboard, click on “Appearance” and then on “Customise.” A new window will open where you can adjust all segments of your website. One of the last options in the menu is “Footer.” Click on it and your editing can begin.
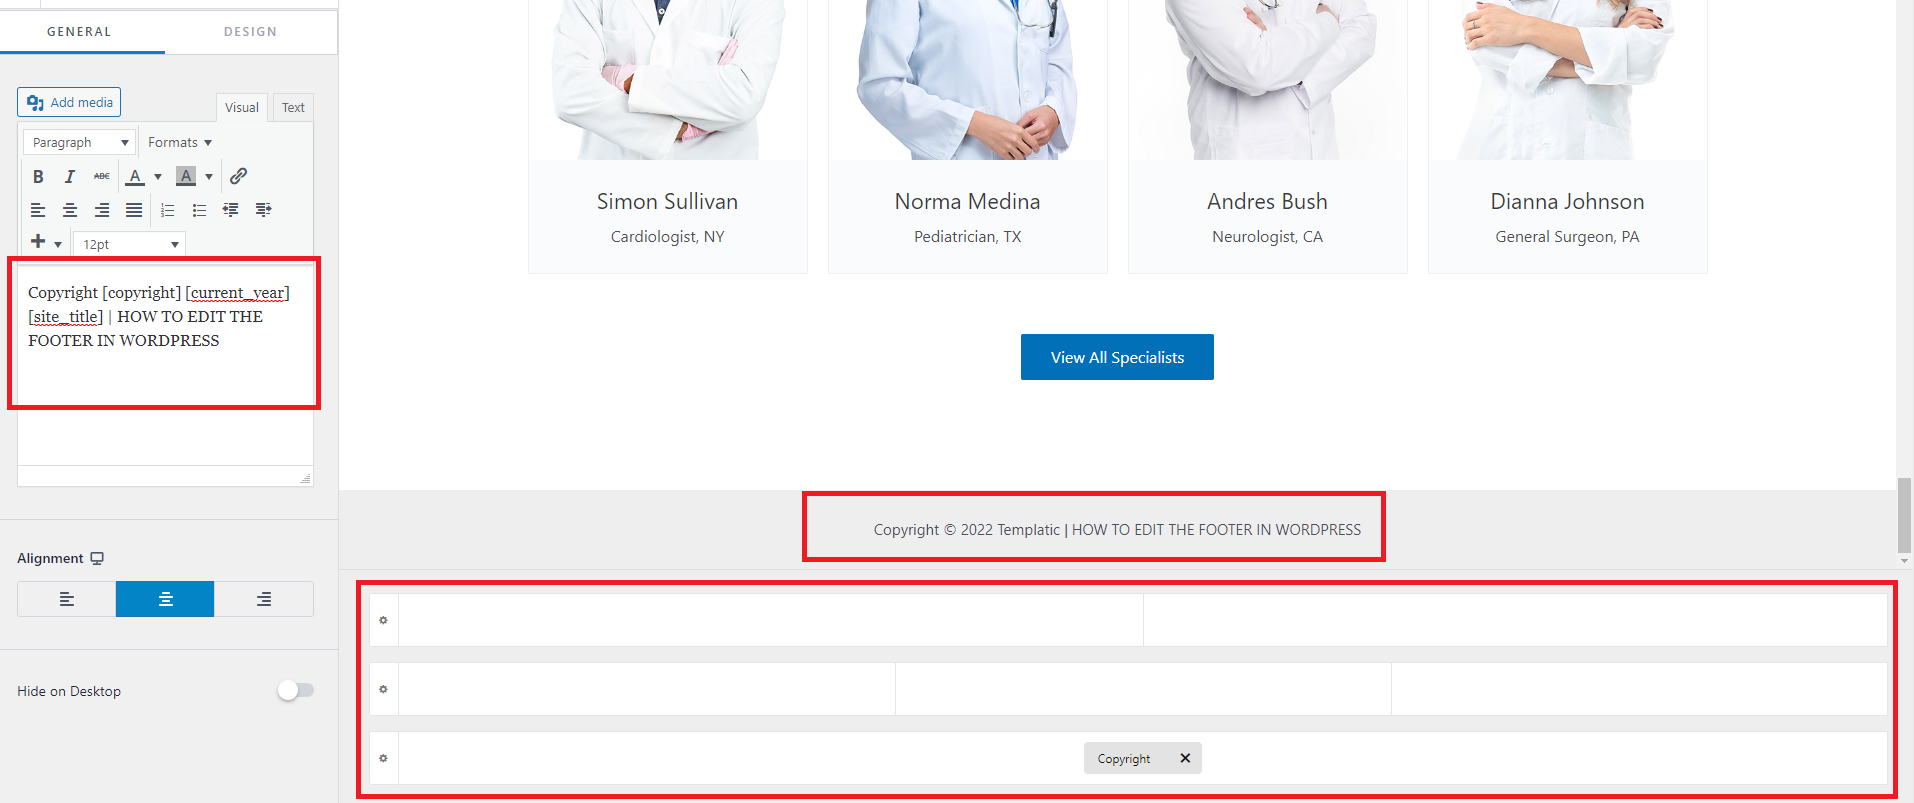
Depending on which WordPress theme you’ve installed, the appearance of the footer itself may differ. As you can see in the above image, you’ve got copyright text and three footer fields where you can add content. Simply click on any field, a new window will open where you can choose what content to add.
Another and much simpler way to edit the footer in WordPress is to add widgets in the footer area.
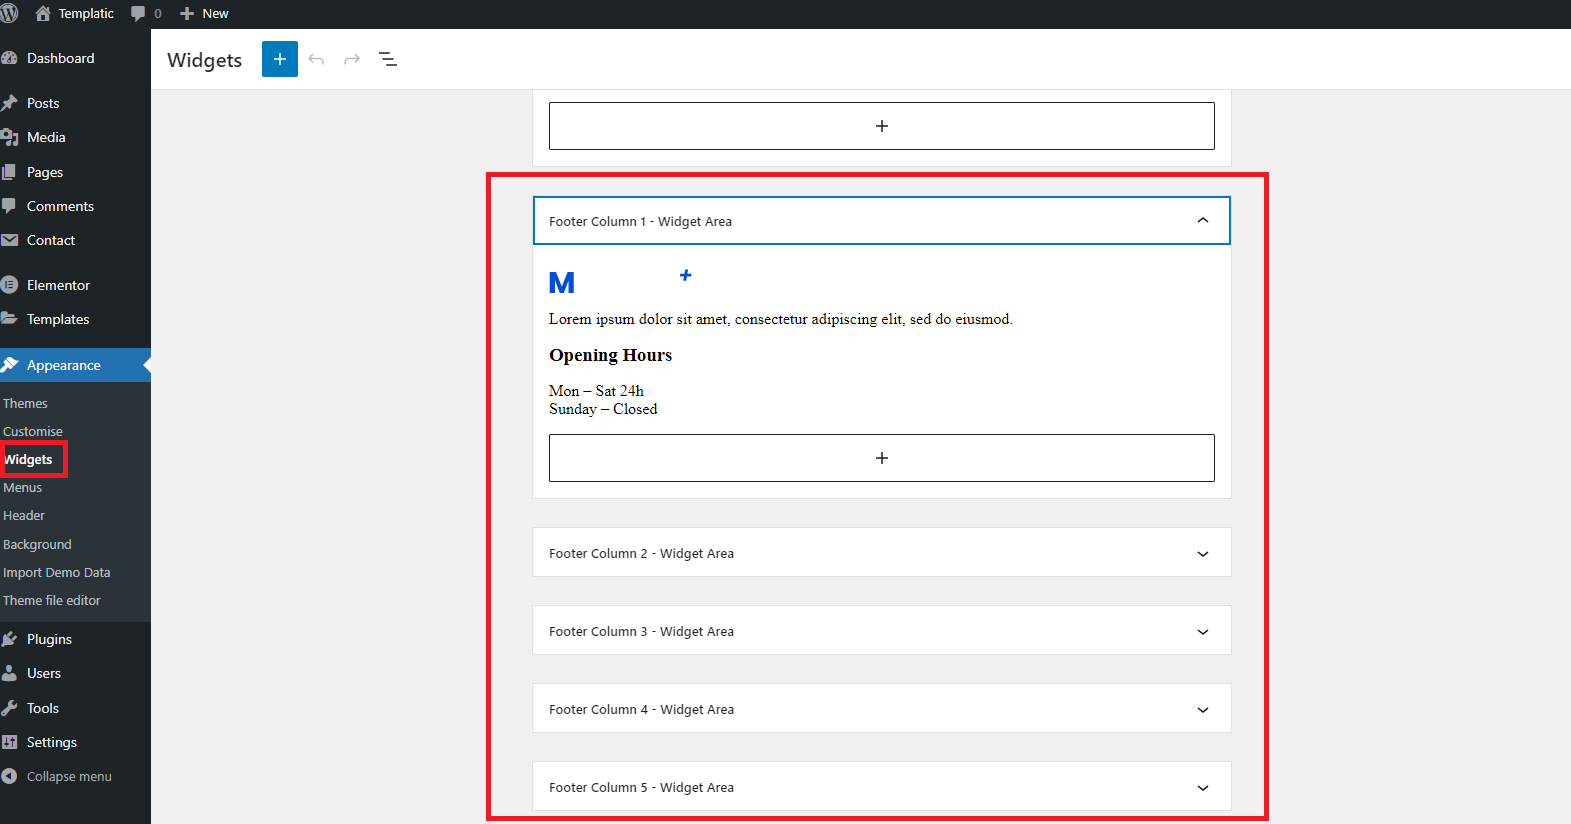
In order to achieve this, your WordPress theme must be compatible with widgets and of course it must have a footer area. Inside the WordPress dashboard, click on “Appearance” and then on “Widgets.” A window will open where you can add content to the footer area.
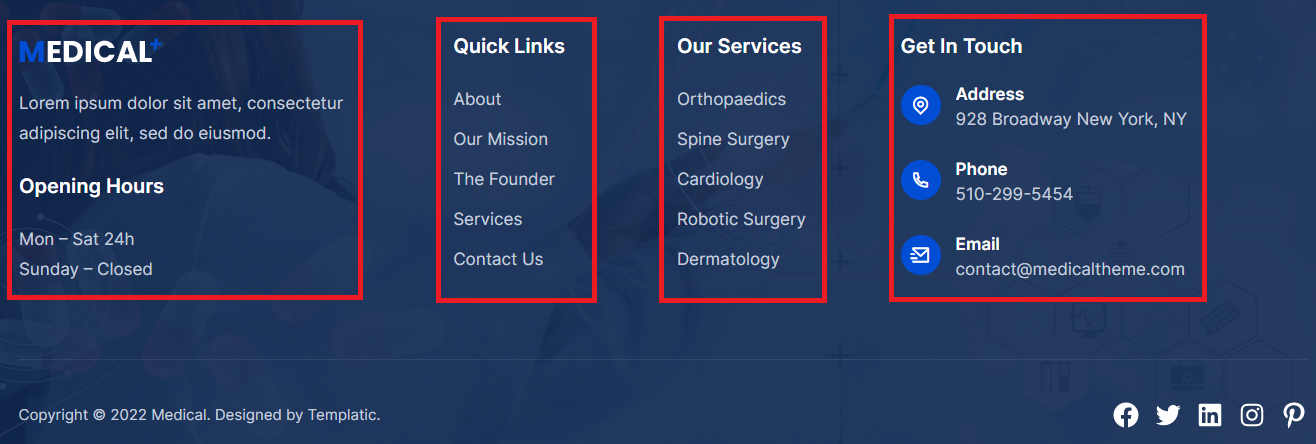
For demonstration purposes, we are using the Medical WordPress theme by Templatic. As you can see in the image below, you have 4 footer areas. By clicking on any of these Widget areas it is possible to add new content or change the existing one.
After we have changed the content, we need to click on “Update” and our changes have been saved.
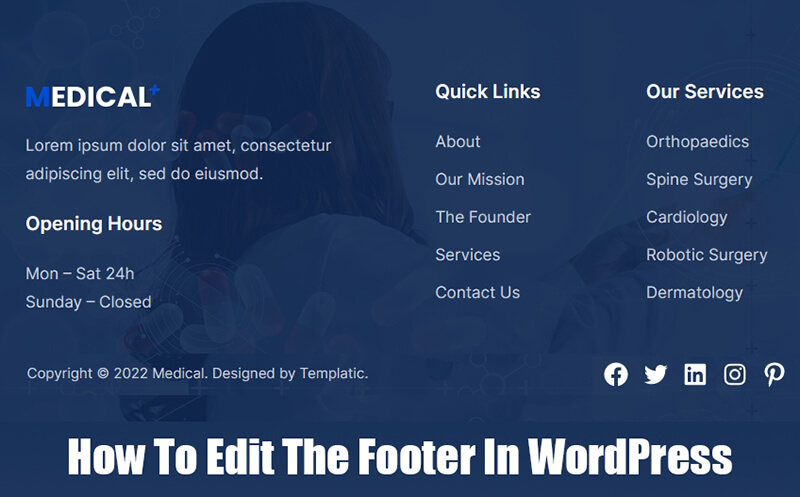
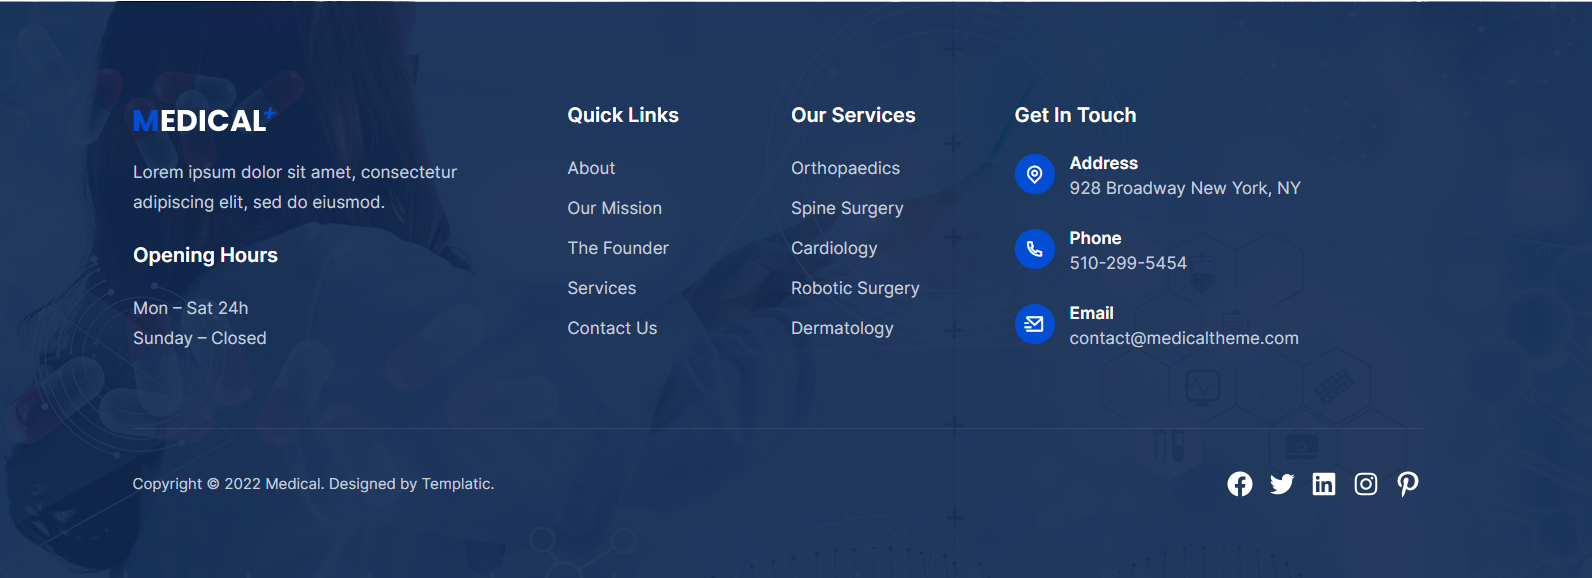
You can see the result in the picture below. We have posted some basic information about the company, quick links, services and contact details.
One of the more popular things you can add to the footer is a separate menu that you create just for this part of your website. This menu is usually different from the main menu and can provide different links. It’s obviously up to you, the footer menu can also display the same links as your website’s main menu.
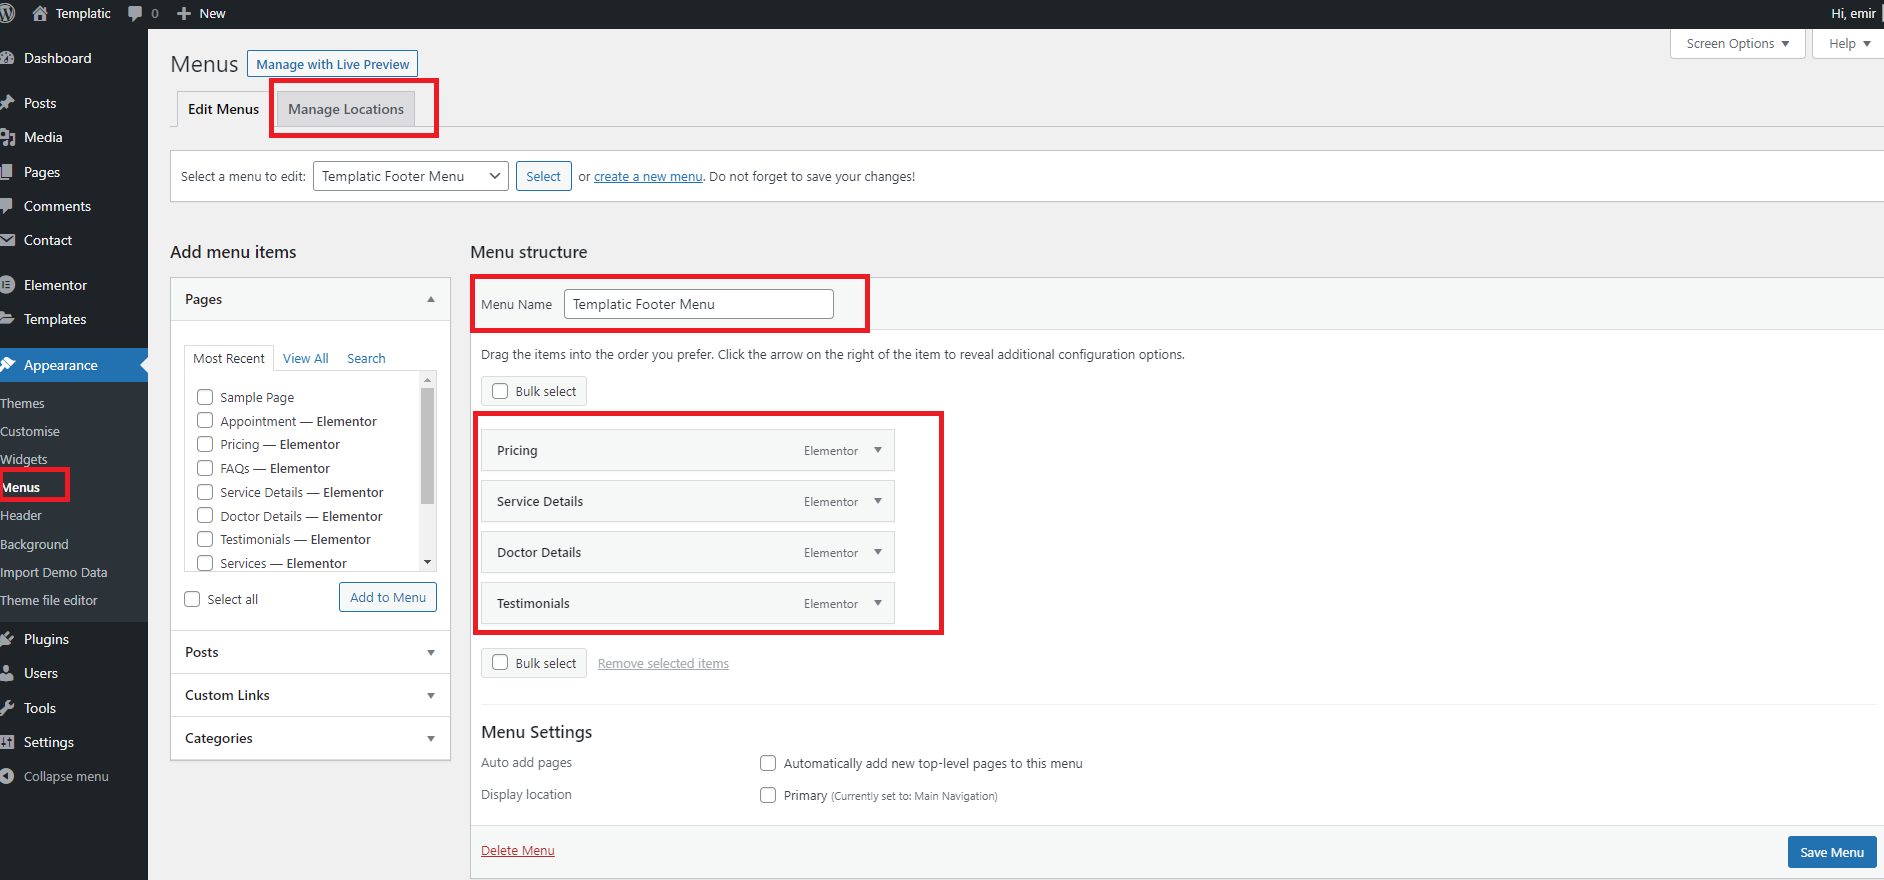
To add a menu to the footer, click on “Appearance” and then on “Menus.” A new screen will open where you can create a new menu. We have created a new menu that we called “Templatic footer menu.” After you have added the desired items to the menu, click on the “Manage Locations” tab and assign the newly created menu to the footer. Your work is done.
In this article we showed you how to edit the footer in WordPress. In addition to providing visitors with more information about you, your business and services. In general, a good footer is one that simplifies the navigation of your website and this can improve your site’s SEO ranking because of the overall better user experience.