These are the simple steps to setup a WooCommerce store with WordPress, to create an efficient online eCommerce business in 2024.
Creating an online store can be a difficult and very complicated task. You can complete it in three ways. To buy a ready-made solution, to make it yourself if you are an experienced developer. The best solution is to create your own online store using one of the free solutions. The first solution can be very expensive, the second solution will take a lot of time (several months and maybe years). Today we will focus on this latest solution and show you how to make an online store yourself using the free WooCommerce plugin.
About WooCommerce
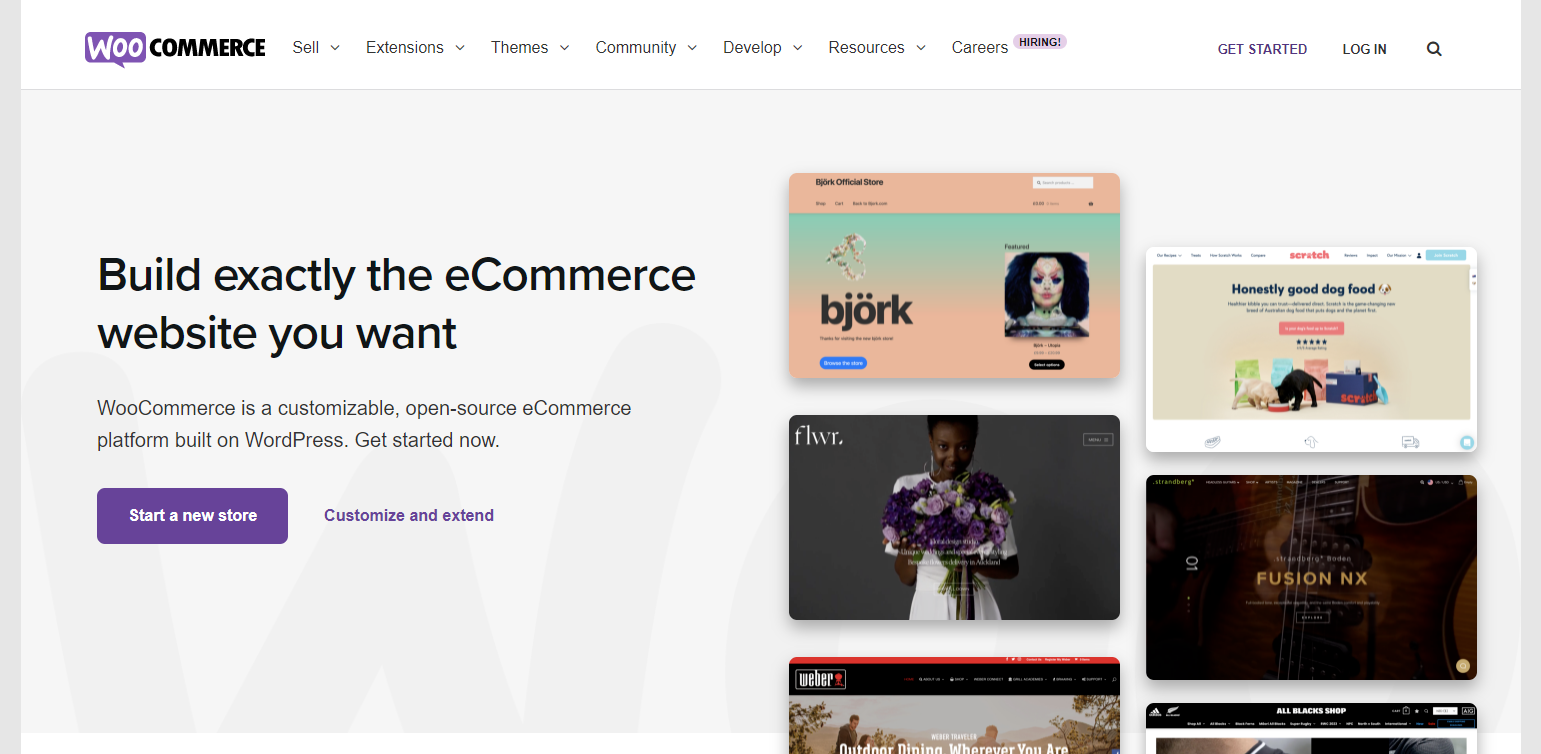
WooCommerce is a WordPress plugin used to launch an online store. It is estimated that almost 40 percent of all the world’s online stores are based on this plugin. The reason is stability, excellent functionality and the possibility of unlimited expansion using different extensions. We must note that not all WooCommerce extensions are free, but with a basic WooCommerce installation you can easily start a business.
To start building your online store you need to have hosting and a domain. We wrote earlier about how good hosting provider is important for a successful business. There are hosting providers that have hosting packages that specialize in WordPress and WooCommerce sites. So we advise you to look for some of them. Online stores are full of product images which consumes more server resources. Therefore, you need to have a fast and stable server to properly display content to your visitors.
Installing WordPress and WooCommerce
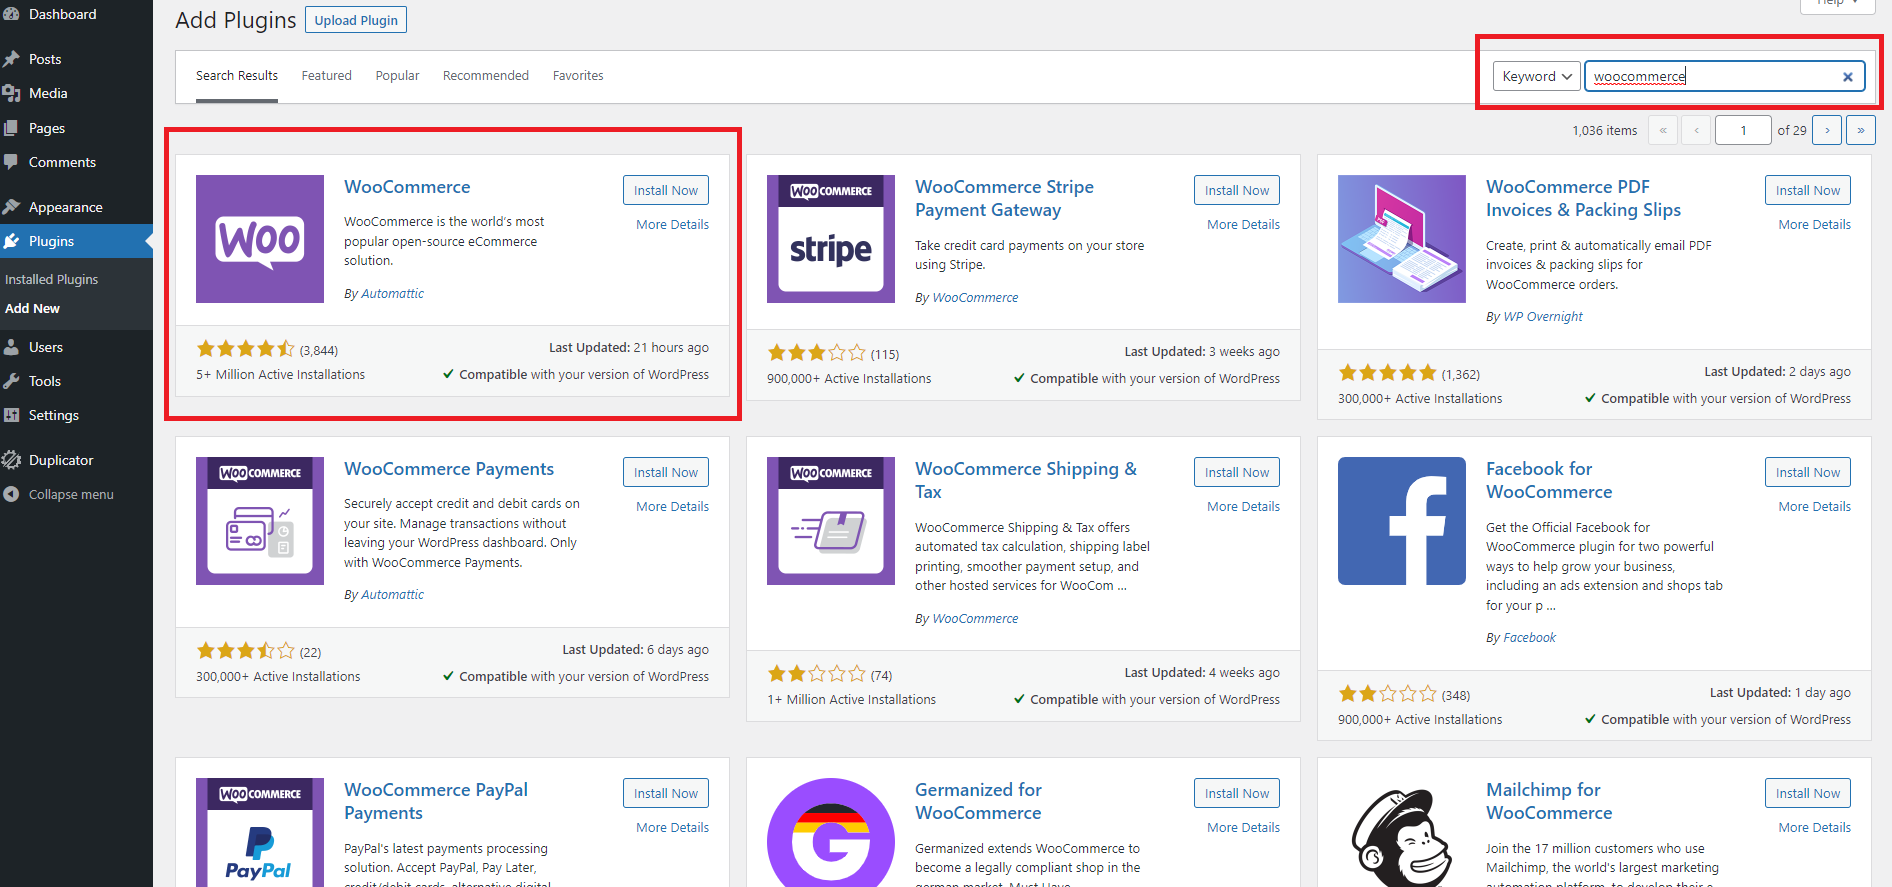
Once you have purchased the hosting and domain, the next step is to install WordPress. Immediately after installing WordPress we can start installing the WooCommerce plugin and setup a WooCommerce store. You can install it in several ways, but the easiest way is to install it inside the WordPress dashboard. Click on “Plugins” and then on the “Add new”. Type “woocommerce” in the search box and install the first plugin from the list.
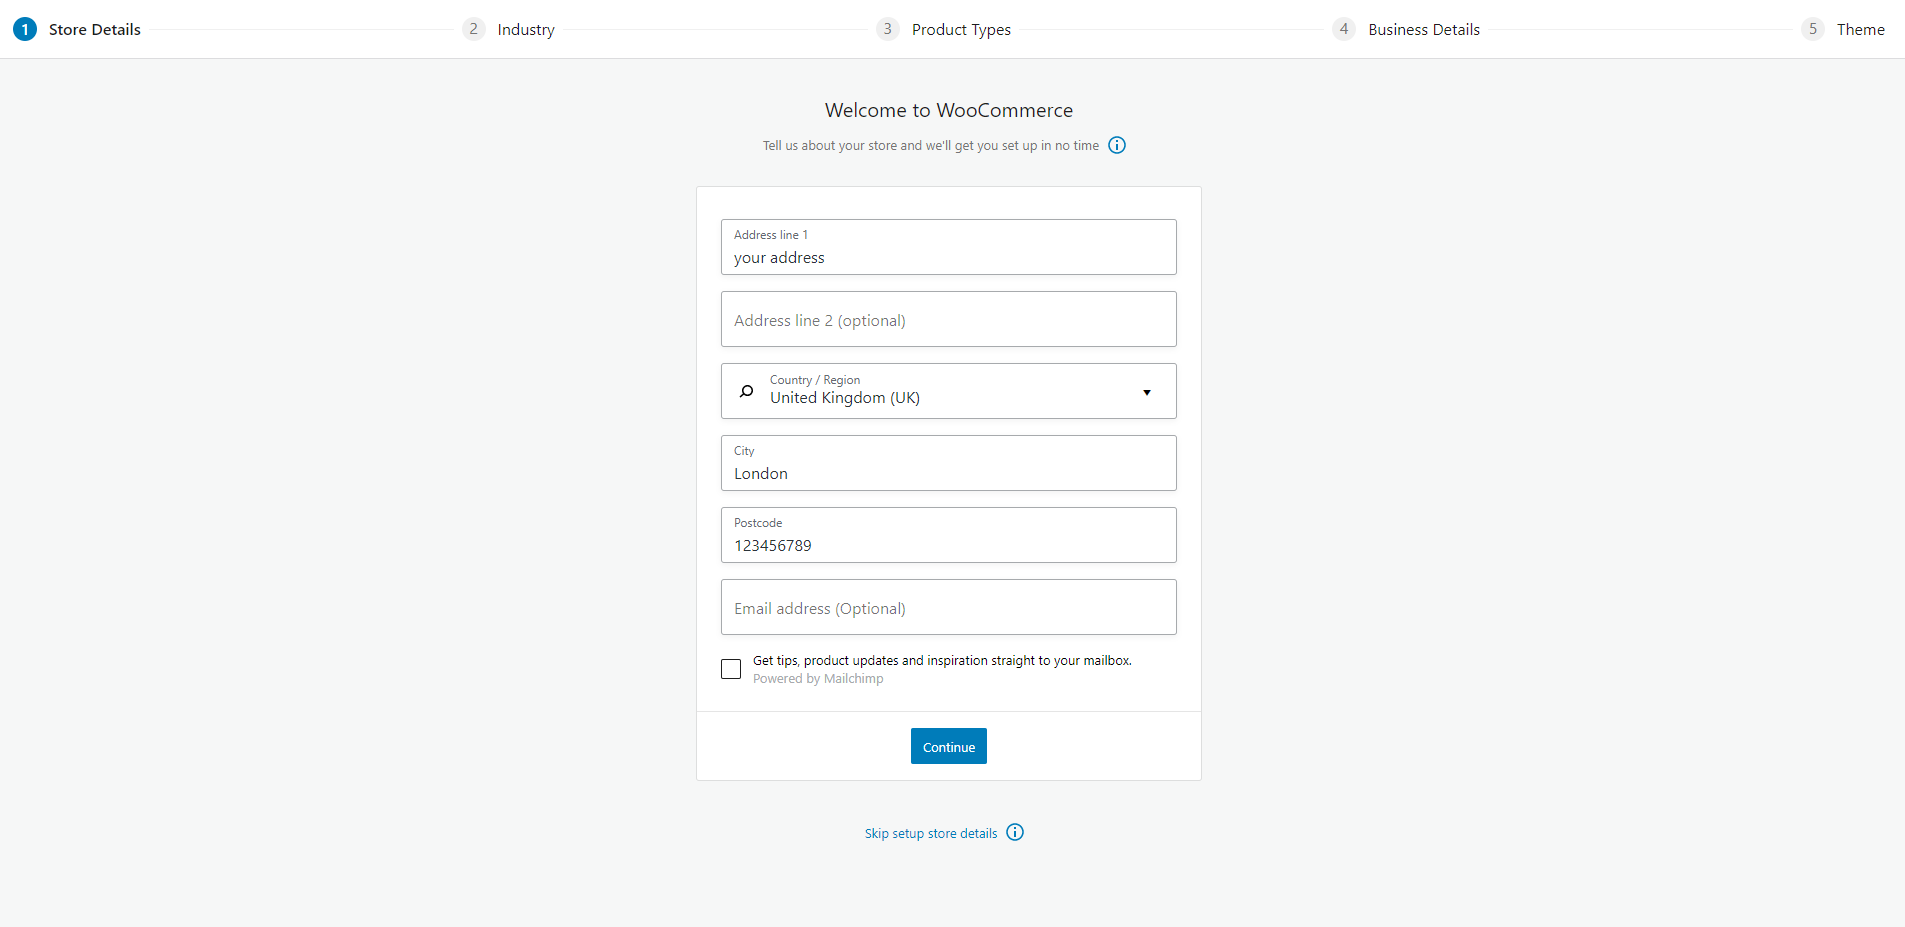
After installing and activating the plugin, the wizard for creating an online store will automatically start. You need to go through a few steps to fill in all the required fields.
In the first step you must enter information about your geographical location. You must enter the address, city, country and zip code.
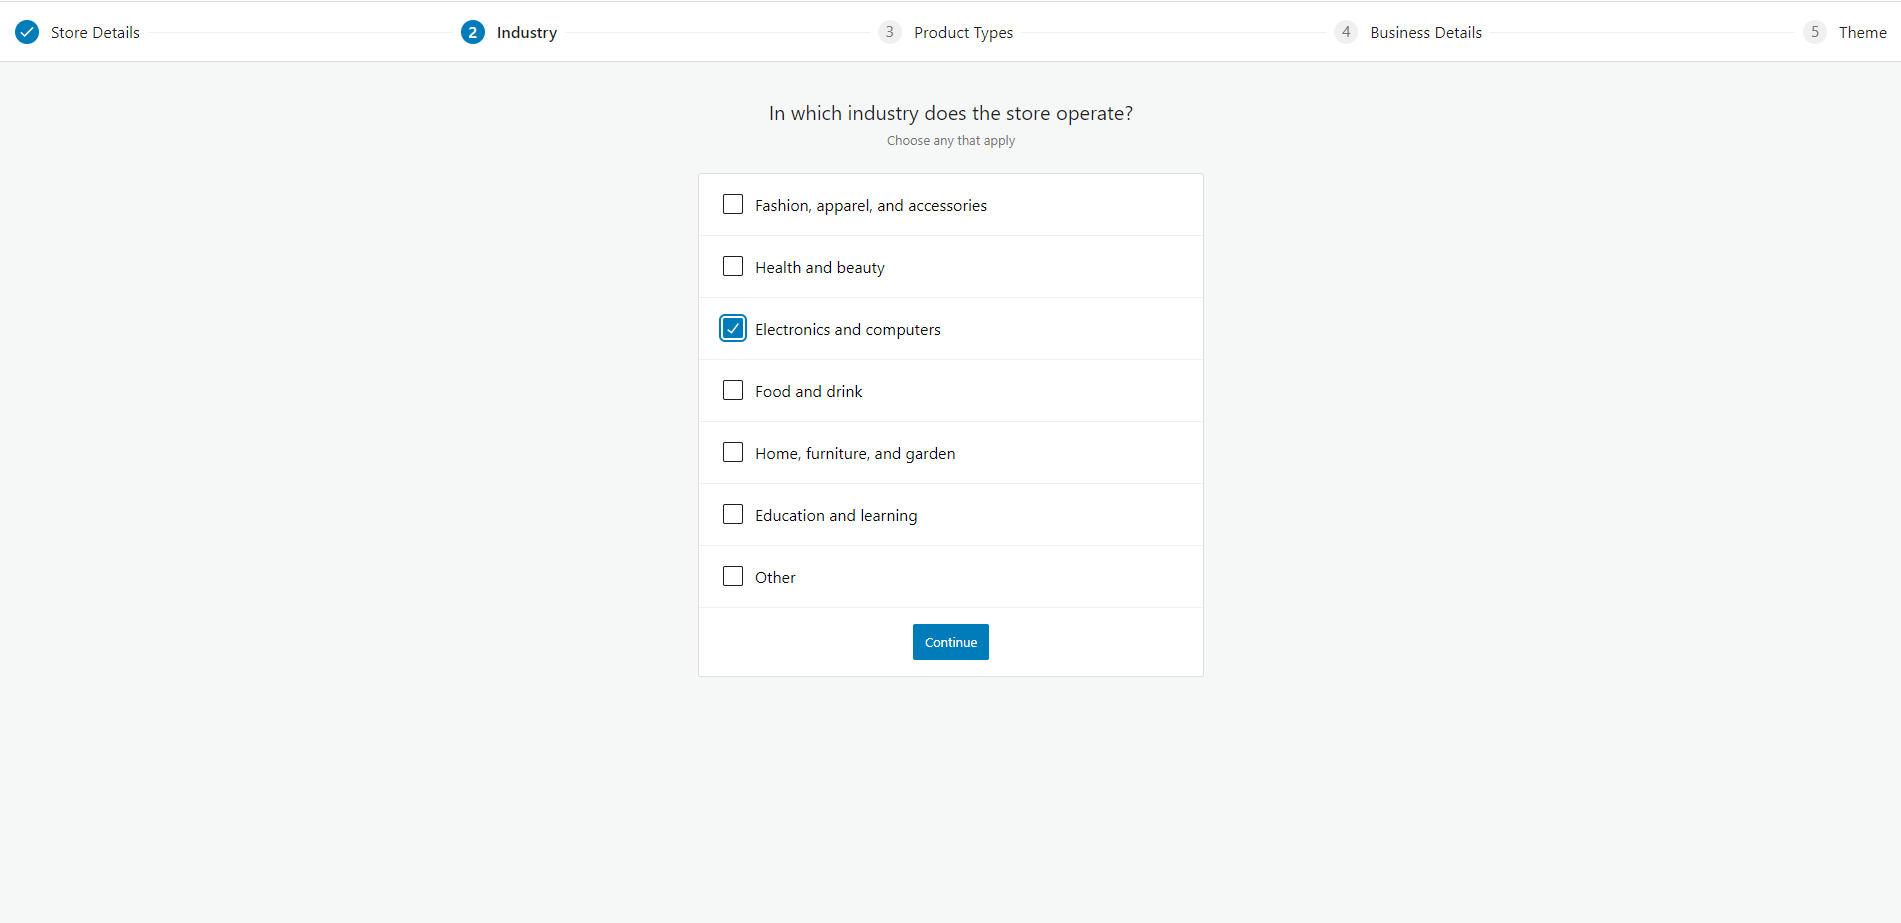
In the second step you have to choose the industry or which business niche your business belongs to. There are many predefined values, choose the correct one and click on “Continue.”
Selling on your WooCommerce site
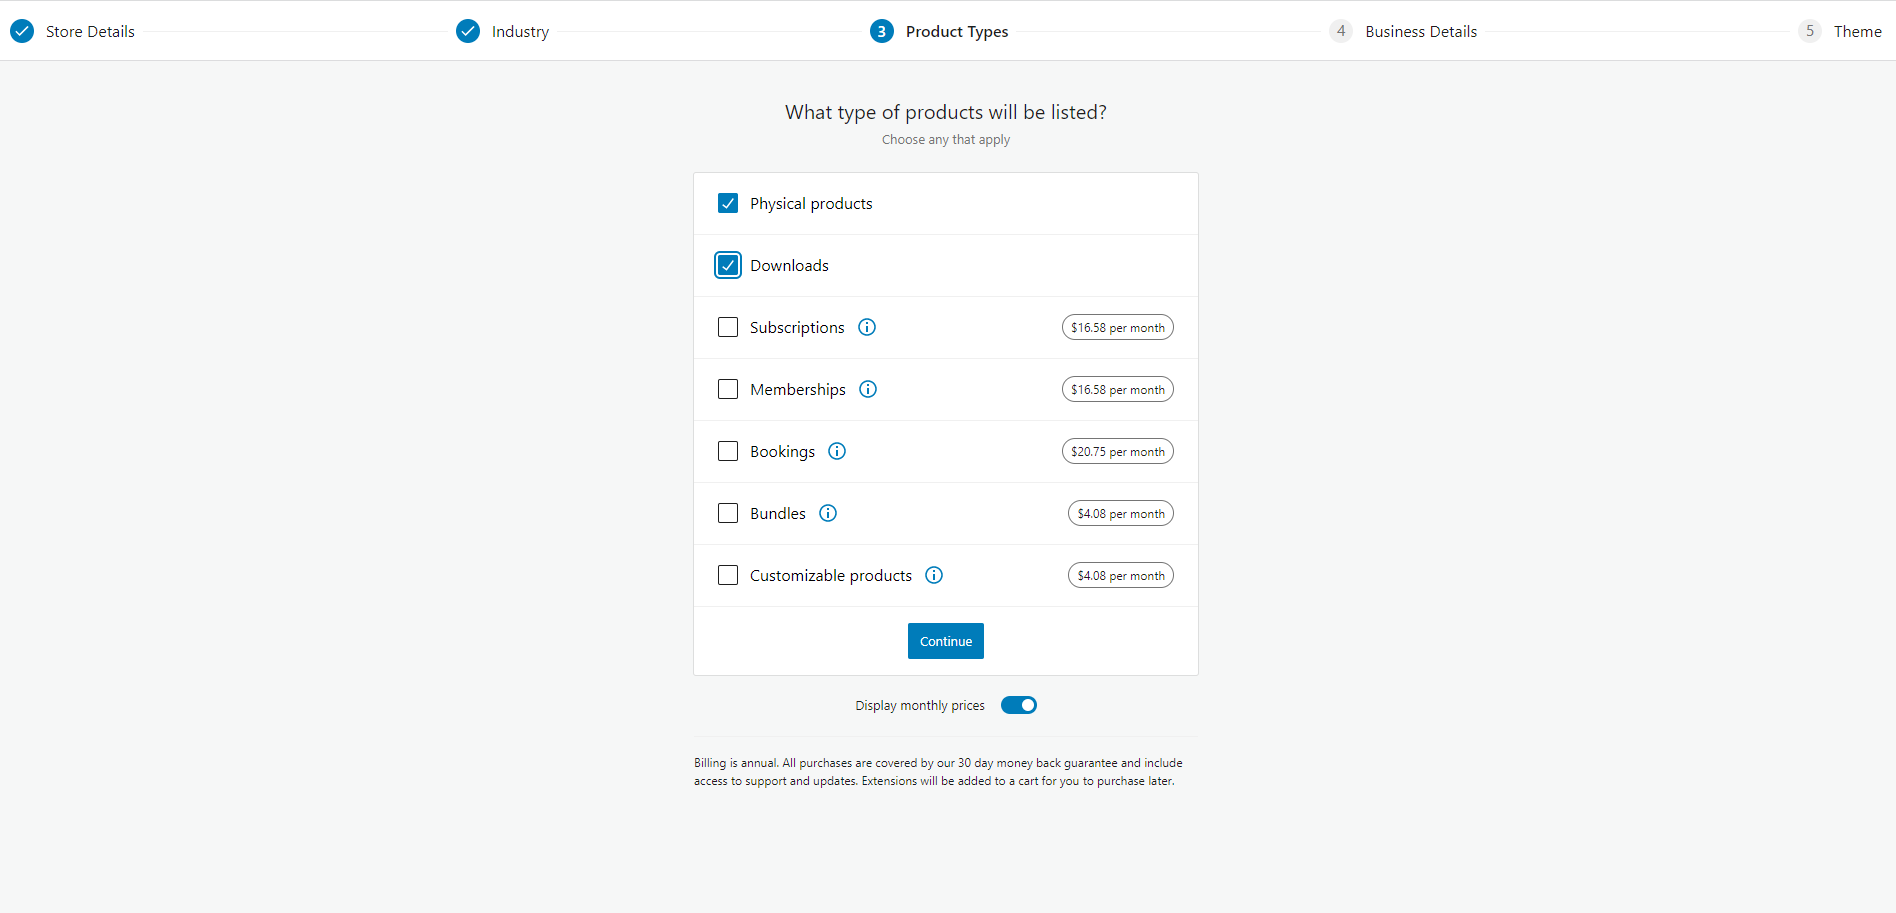
The third step requires you to say what you will sell on your WooCommerce site. If you are selling physical or digital products then you can move on. However, if you want to sell something else such as subscriptions, then you will have to pay a certain amount. Remember we mentioned that not all extensions on WooCommerce are free. For this demonstration we will choose to sell physical products and we will continue with the setup.
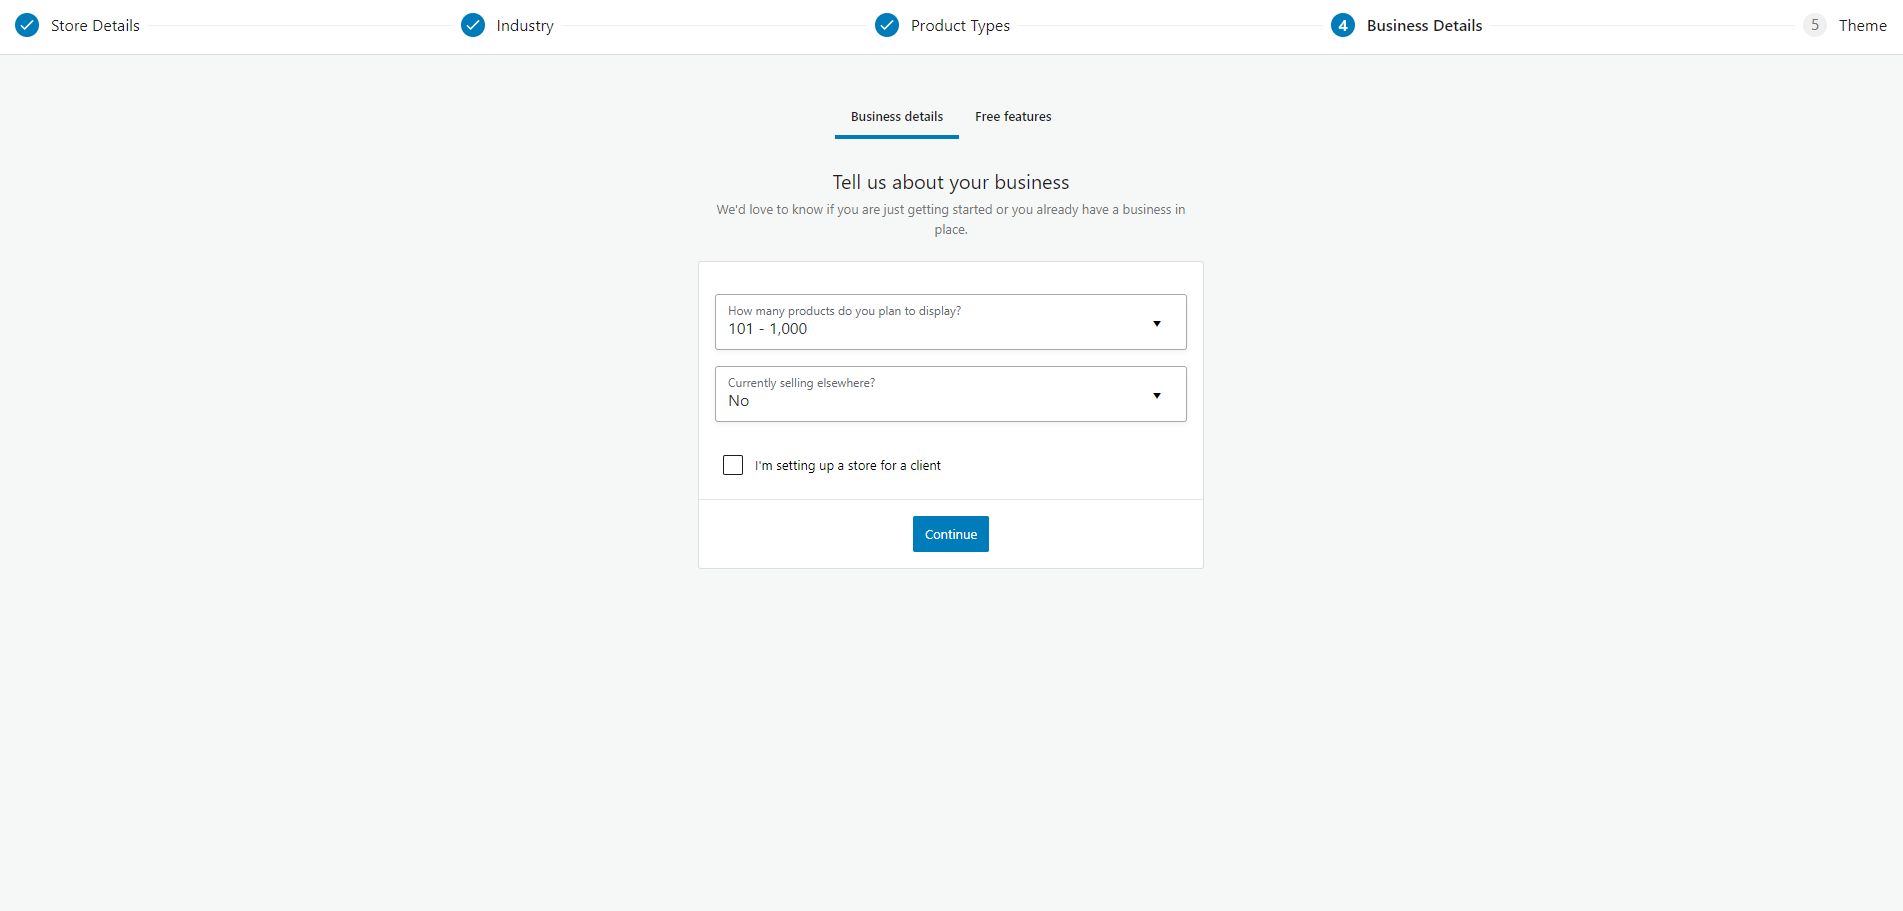
The fourth step is information about your business. You need to enter approximately how many products you want to sell. Enter a value and click “Continue.”
The fifth step while you setup a WooCommerce store is choosing the theme for your online store. You don’t have to do this step right away, you may decide on some commercial or free theme that you can install later. We must mention that you should be careful when you choose a theme. A poorly programmed theme or a theme that does not have good support can do a lot of damage to your business. Use only products from verified companies.
We have finished the initial setup of our store, now we have to adjust a few more things and we can start adding products. Below we will show you how to set up payments, tax, shipping and how to add your first product to the online store.
Adding product to the site
You have several options in the “add product” menu. Products can be added manually or loaded from an existing site. If you have your own Shopify or a similar platform where you sell your products you can import them from there. Due to the demonstration, we will choose to add our first product manually.
Click on “add product” and a new window will open. The fields you need to fill in are the title or name of the product, the appropriate description with detailed information, the price of the item and delivery information. These are the basic fields that every product should have filled out. Of course you can also add some custom fields to give visitors more information about the product they are watching. We will write about custom fields on another occasion.

When describing a product be sure to describe it in as much detail as possible. In addition to giving your potential customers a better insight into the items they buy, a detailed description will also have an impact on the SEO of your sites and their position in search engines.
Setting up payments
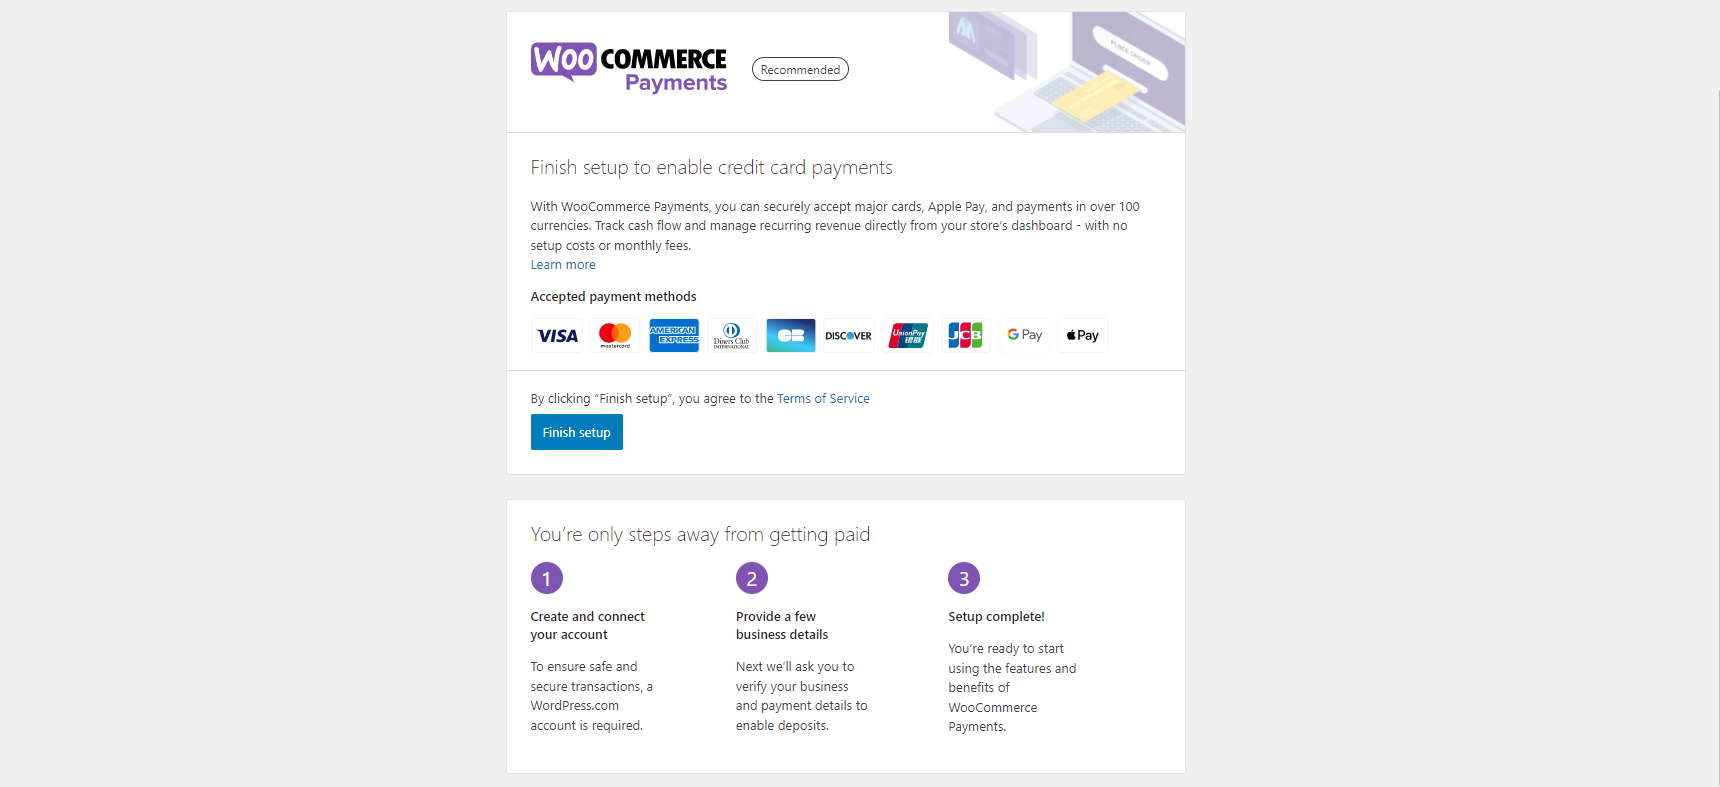
The next page that will open is payments, and there you set how you will charge for your products or services. Standard WooCommerce installation comes with PayPal and Stripe payment gateways. If you want to use another one, then you will have to buy it on the WooCommerce extensions page. Enter which payment gateway you’d like to enable, display your bank account number and any other relevant payment information.
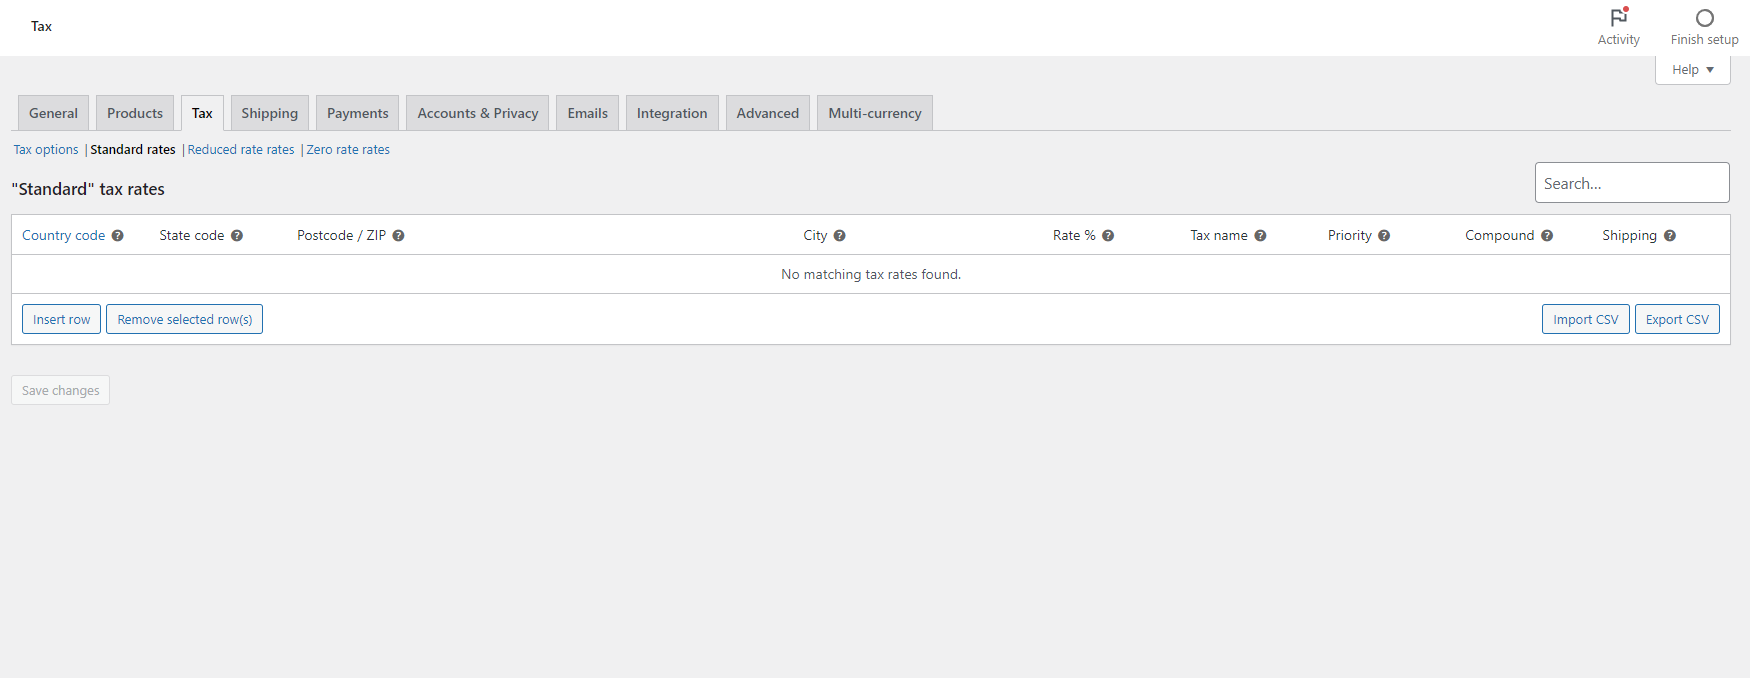
The next step is to adjust the tax. You can very easily define a tax rate, you can set multiple tax rates on different items, but you can also exclude tax so that it is not calculated in the total price of the item. Keep in mind that in some countries local norms and laws require that the tax be defined and clearly visible on the price of the item.
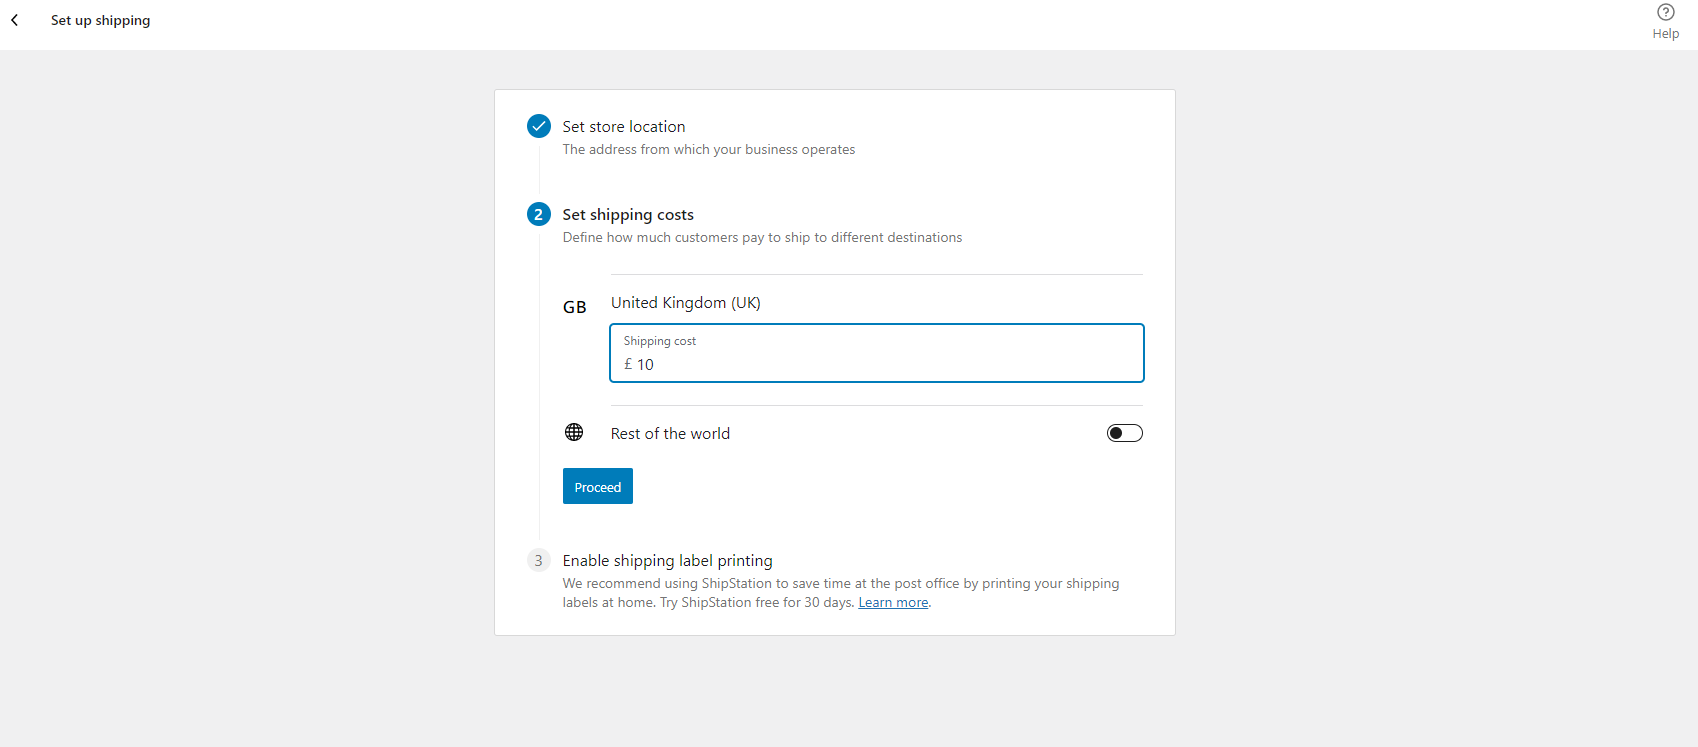
It remains to adjust the delivery information. WooCommerce has left the possibility for each online store owner to confirm their location, and then based on that they can define shipping depending on the distance from the central warehouse to the customer. It is important to note that the shipping price can be adjusted individually for each city, region or country, but it can also be excluded so that you do not charge for the product delivery.
When we have completed all the previous steps, it remains to personalize your store. This includes adding basic products, creating page layouts, adding logos and the other design related things. After this your online store is finished.
Just as we mentioned earlier, the options of the WooCommerce plugin can be extended indefinitely. You can setup a WooCommerce store in just minutes, very easily. Within the WooCommerce repository there are hundreds of extensions that are sorted by categories such as extensions for payment, shipping, tracking, labeling, discount and many others. Many of them are free, and when you consider that the WooCommerce plugin is also free, then you know why it is the best choice for creating a good and stable online store.